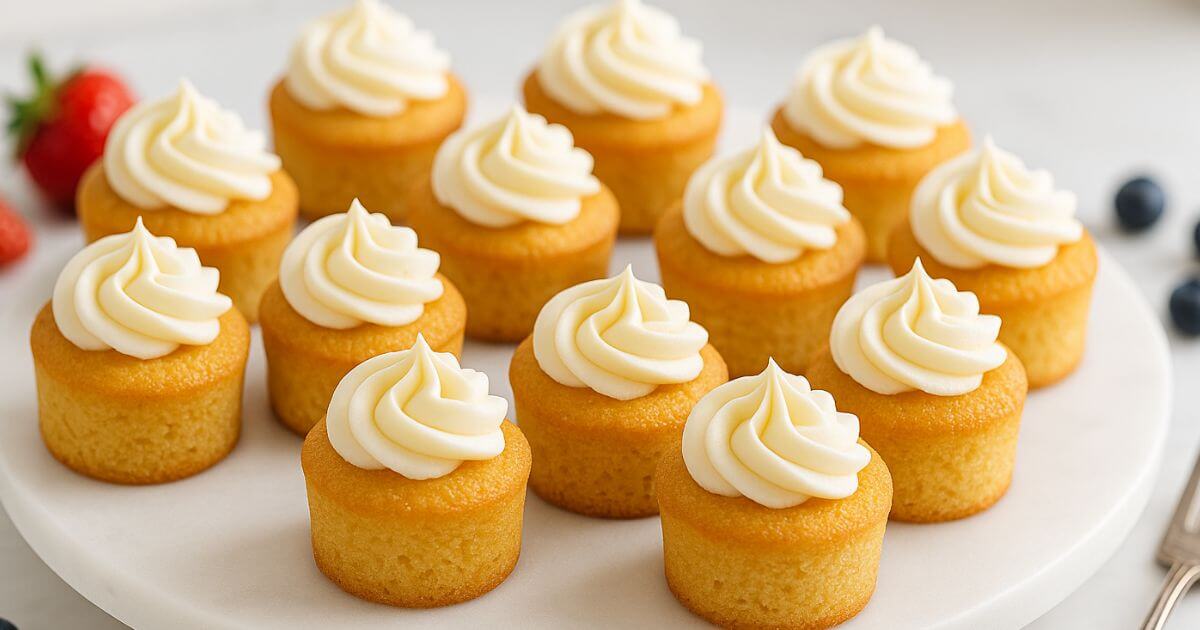
Mini Cakes: How to Bake Perfect Bites in 30 Min
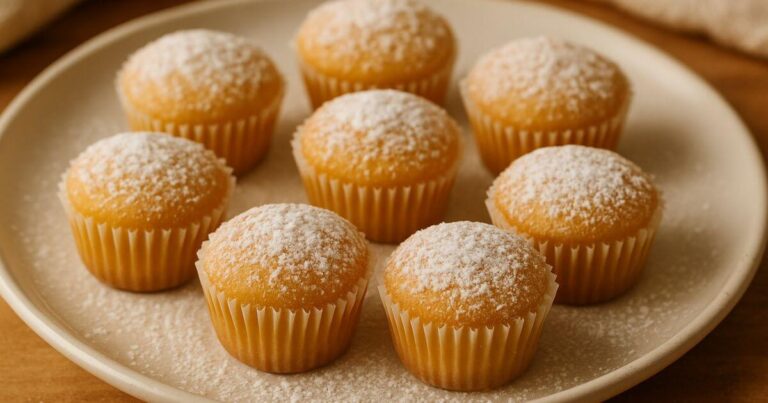
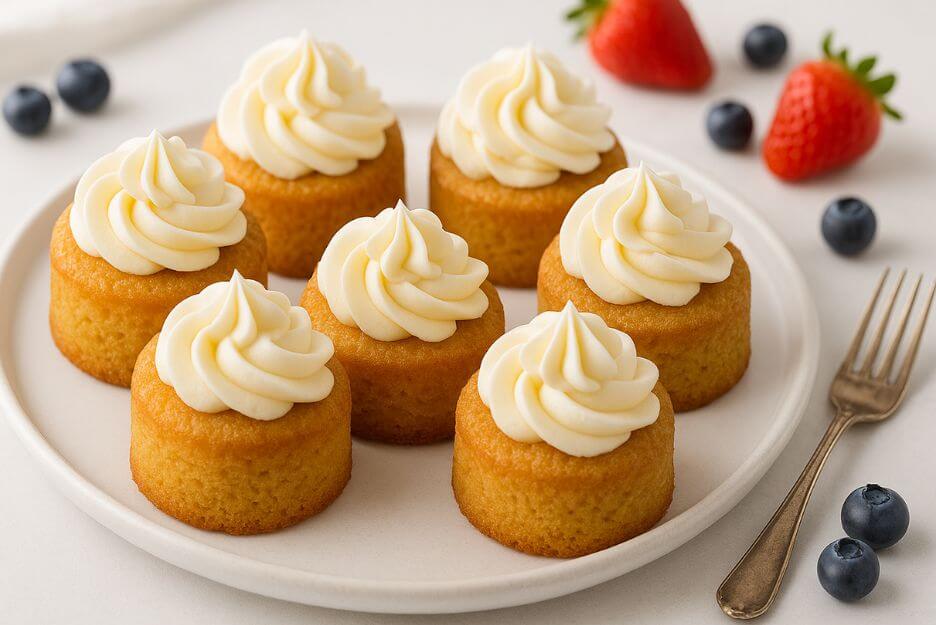
There’s something magical about opening your oven to find rows of perfectly golden, bite-sized treasures waiting for you. Mini cakes aren’t just desserts – they’re little bundles of joy that transform ordinary moments into celebrations.
The art of miniature baking traces back to medieval European monasteries, where monks created small, individual pastries for special feast days. Today’s mini cakes evolved from these humble beginnings, gaining popularity during the Victorian era when afternoon tea culture demanded delicate, hand-held sweets.
Why choose mini cakes over traditional desserts? They’re incredibly time-efficient, naturally portion-controlled, and surprisingly economical. You’ll use fewer ingredients while creating more servings, making them perfect for budget-conscious bakers. Plus, there’s no awkward cake-cutting ceremony – just grab and enjoy!
This foolproof recipe transforms basic pantry staples into bakery-quality treats in just thirty minutes. Whether you’re hosting unexpected guests or treating yourself after a long day, these mini cakes deliver consistent, delicious results every single time.
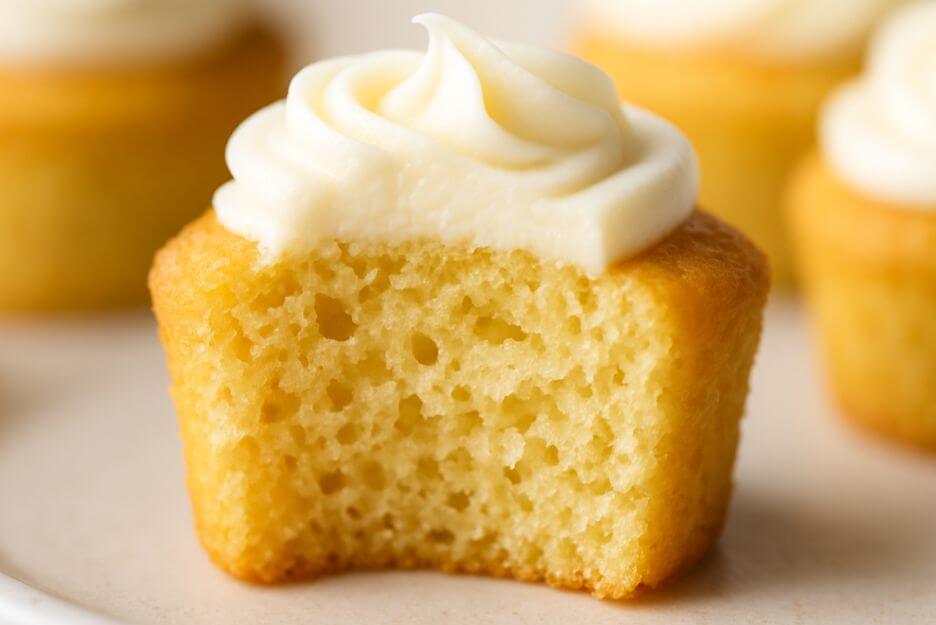
Table of Contents
Essential Ingredients for mini cakes
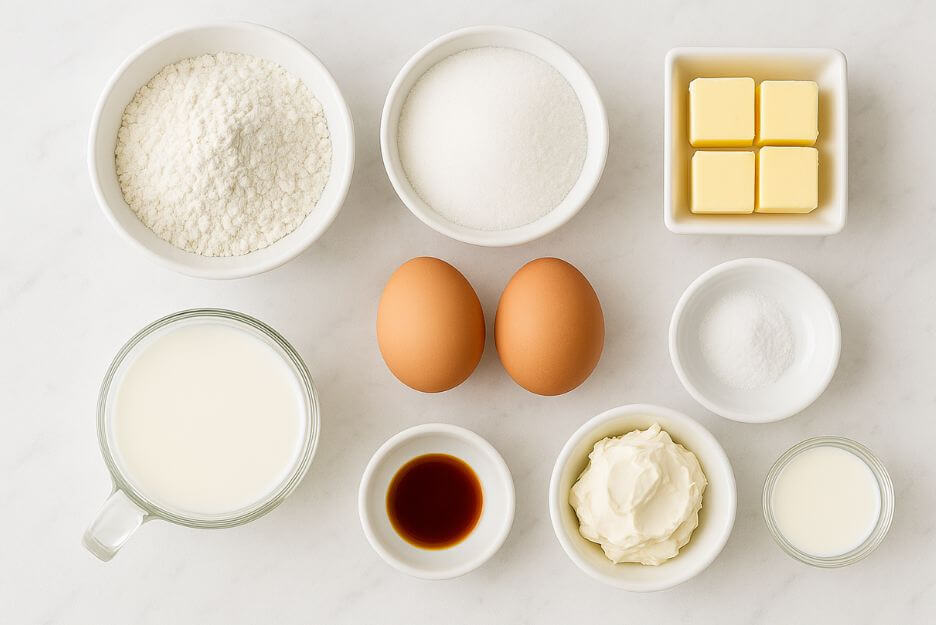
Core Cake Components:
- 1¼ cups cake flour (or all-purpose flour)
- ¾ cup superfine sugar
- 6 tablespoons unsalted butter, room temperature
- 2 large eggs, room temperature
- ½ cup buttermilk
- 1½ teaspoons baking powder
- ¾ teaspoon pure vanilla extract
- ¼ teaspoon fine sea salt
Optional Cream Cheese Frosting:
- 4 oz cream cheese, softened
- 2 tablespoons butter, softened
- 1 cup powdered sugar, sifted
- ½ teaspoon vanilla extract
- 1-2 tablespoons heavy cream
Smart Substitution Options:
- Vegan adaptation: Replace butter with coconut oil, eggs with aquafaba, buttermilk with plant milk plus lemon juice
- Gluten-sensitive: Swap regular flour for certified gluten-free blend (add ¼ teaspoon xanthan gum if not included)
- Reduced sugar: Use granulated monk fruit sweetener at ¾ the amount
- Dairy-free buttermilk: Mix plant milk with apple cider vinegar, let sit 5 minutes
Ingredient Quality Matters: Fresh, room-temperature ingredients create superior texture. Cold ingredients don’t incorporate properly, leading to dense, uneven results.
Required Tools and Equipment
Essential Baking Arsenal:
- 24-cup mini muffin pan (or two 12-cup pans)
- Stand mixer or high-quality hand mixer
- Large mixing bowl
- Fine-mesh sifter
- Small ice cream scoop or spoon
- Digital kitchen scale (optional but recommended)
Creative Alternatives:
- No mini muffin pan? Use regular muffin tins filled ¼ full, or make cake pops instead
- Missing electric mixer? Vigorous whisking works – expect an arm workout!
- No sifter? Whisk dry ingredients thoroughly to eliminate lumps
Detailed Baking Method
Step 1: Preparation Phase Heat oven to 325°F (163°C) – slightly lower than standard baking temperatures for more even cooking. Apply a generous coating of butter to each mini muffin cavity, followed by a light sprinkle of flour for easy release. This easy small batch cake recipe requires proper pan preparation for clean release.
Step 2: Create the Base Cream softened butter and superfine sugar using medium speed for 4-5 minutes until mixture becomes pale yellow and noticeably fluffy. This extended creaming creates the light texture that makes this fluffy cake recipe so special.
Step 3: Incorporate Eggs Add eggs individually, beating well after each addition. The mixture might look slightly curdled – this is normal. Blend in vanilla extract until evenly distributed.
Step 4: Prepare Flour Mixture Whisk cake flour, baking powder, and salt together in a clean bowl. This whisking method aerates the mixture while eliminating any potential clumps that could affect texture.
Step 5: Combine Components Fold in the flour blend using three separate additions, interspersing with two buttermilk additions between them. Start and finish with flour. Mix on low speed just until ingredients disappear – overmixing develops gluten, creating tough cakes.
Step 6: Fill and Bake Using a small scoop, distribute batter evenly among prepared cups, filling each about ¾ full. Bake for 14-16 minutes until tops spring back when lightly pressed and edges just begin pulling away from pan sides.
Step 7: Cooling Process Cool in pans for exactly 3 minutes, then turn out onto wire racks. Complete cooling takes about 15 minutes – rushing this step can cause frosting to melt.
Step 8: Final Touches Create frosting by whipping cream cheese with butter until completely combined, then slowly incorporate powdered sugar and vanilla extract. Pipe or spread onto cooled cakes.
Professional Techniques and Creative Variations
Master Baker Secrets:
- Temperature is everything – invest in an oven thermometer for accurate readings
- Measure by weight when possible – more consistent results than volume measurements
- Use the toothpick test wisely – it should emerge with just a few moist crumbs
- Don’t skip the sifting step – it prevents dense, heavy cakes
- Rotate pans halfway through baking – ensures even browning
- Let ingredients reach room temperature naturally – microwaving butter creates uneven texture
Common Pitfalls to Sidestep:
- Opening oven doors prematurely causes temperature fluctuations and sunken centers
- Overpacking flour leads to dry, crumbly results
- Under-creaming butter and sugar produces dense, heavy cakes
- Overbaking creates dry, tough textures that no amount of frosting can rescue
Exciting Flavor Adventures:
- Citrus Burst: Add lemon or orange zest plus 2 tablespoons fresh juice
- Chocolate Lovers: Replace ¼ cup flour with unsweetened cocoa powder
- Spice Cabinet: Include cinnamon, nutmeg, and cardamom for warmth
- Berry Bliss: Fold in freeze-dried strawberries or blueberries
- Coffee Shop: Add instant espresso powder and chocolate chips
Complete Nutritional Breakdown
Per Individual Mini Cake (recipe yields 24):
- Calories: 108
- Total Fat: 4.2g
- Saturated Fat: 2.6g
- Cholesterol: 28mg
- Sodium: 52mg
- Total Carbohydrates: 16.8g
- Dietary Fiber: 0.3g
- Total Sugars: 12.4g
- Protein: 2.1g
Nutritional Advantages:
Buttermilk adds probiotics that support digestive health, while the controlled portion size helps manage calorie intake naturally.
The calcium content supports bone health, particularly important for growing children and aging adults. Using quality butter provides vitamin A and essential fatty acids.
These calculations are estimates based on standard ingredient values. Actual nutrition may vary depending on specific brands and preparation methods.
Storage Solutions and Reheating Methods
Optimal Storage Conditions:
- Counter storage: Keep in airtight containers up to 4 days at room temperature
- Refrigerated storage: Properly covered, they last up to 10 days
- Long-term freezing: Individually wrapped, frozen cakes maintain quality for 4 months
Maximizing Freshness:
Unfrosted mini cakes stay fresh longer than frosted versions. If planning to store for more than two days, freeze plain cakes and add frosting just before serving.
Reheating Techniques:
- Microwave method: 8-12 seconds on medium power
- Oven warming: 5-7 minutes at 275°F wrapped in foil
- Steam revival: Place over simmering water for 2-3 minutes to restore moisture
Freezer-to-Table Instructions:
Thaw frozen cakes at room temperature for 30-45 minutes, or microwave from frozen for 20-25 seconds. For best texture, let them come to room temperature naturally when time permits.
Serving Ideas and Presentation Tips
Complementary Accompaniments:
- Fresh seasonal berries with light dusting of powdered sugar
- Warm caramel or chocolate sauce for dipping
- Vanilla bean ice cream or whipped cream dollops
- Toasted nuts or coconut flakes for textural contrast
- Fresh mint leaves for color and aromatic appeal
Creative Presentation Concepts:
- Arrange on vintage cake stands for elegant displays
- Create dessert towers using different sized plates
- Serve in paper cupcake liners for casual gatherings
- Dust with colored powdered sugar for themed parties
- Use edible flowers or gold leaf for special occasions
Perfect Beverage Matches:
These delicate cakes pair beautifully with Earl Grey tea, French press coffee, or cold milk.
Comprehensive Question and Answer Guide
Q: Can I transform this into a layer cake instead? A: Absolutely! Use two 8-inch round pans, increase baking time to 25-30 minutes, and test doneness with a toothpick.
Q: Why do my cakes stick to the pan despite greasing? A: Try the flour-dusting technique after greasing, or use parchment paper liners. Some pans require seasoning like cast iron – repeated use improves release properties.
Q: How do I achieve consistent sizing across all mini cakes? A: Use a small ice cream scoop or measuring spoon for uniform portions. Weighing batter portions on a scale provides the most consistent results.
Q: What’s the best way to transport these for parties? A: Use cupcake carriers or line boxes with parchment paper. Avoid stacking frosted cakes – they’ll stick together and create a mess.
Q: Can I make this fluffy cake recipe dairy-free without compromising texture? A: Yes! Substitute plant-based butter and milk alternatives. Cashew cream works particularly well for maintaining richness and moisture.
Creating perfect mini cakes isn’t just about following a recipe – it’s about understanding how ingredients work together to create something truly special. These bite-sized beauties represent the perfect intersection of convenience and indulgence.
The journey from basic ingredients to bakery-quality treats happens in just thirty minutes, but the memories created last much longer. Whether you’re celebrating milestones, comforting friends, or simply treating yourself, these mini cakes deliver satisfaction in perfectly portioned packages.
Your mini cake adventure begins with preheating that oven. Soon, your kitchen will fill with the irresistible aroma of fresh-baked goodness, and you’ll understand why these little treasures have captured hearts across generations. Happy baking!