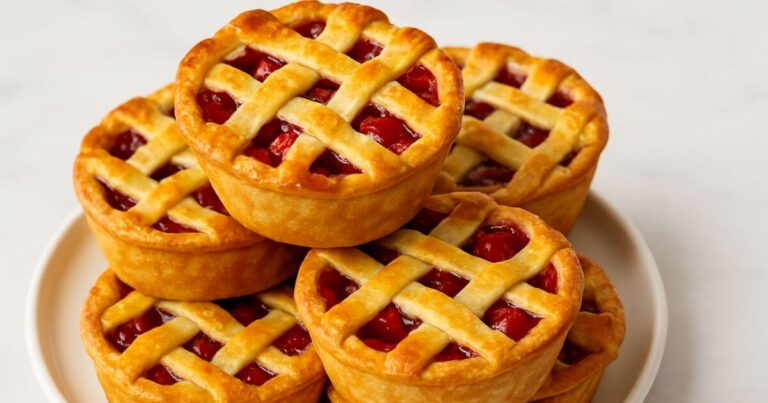
How to Make Flaky Pie Crust Recipe in 5 Easy Steps
That perfect pie begins with a crust that shatters and melts in your mouth light, tender, and, most importantly, flaky. A truly great crust is the foundation of any successful sweet or savory pie, yet many home bakers are intimidated by the process.
The good news? Making a flawless Flaky Pie Crust recipe is far simpler than you think. It relies on just a few basic ingredients and a couple of essential techniques. Once you master this easy flaky pie crust recipe, you’ll never buy a pre-made crust again!
Historically, pie crusts trace back to ancient civilizations, serving as early casseroles to hold and preserve meat or fruit fillings. Over time, the focus shifted from durability to deliciousness, culminating in the buttery, flaky pie crust recipe we adore today. This recipe is incredibly budget-friendly, requiring only flour, fat, salt, and water. Are you ready to unlock the secret to the best flaky pie crust recipe? Let’s get baking!
Table of Contents
Ingredients for the Ultimate Flaky Pie Crust Recipe
Creating a spectacular crust starts with using precise measurements and high-quality, chilled ingredients. This recipe yields one 9-inch double-crust pie or two 9-inch single-crust pie shells.
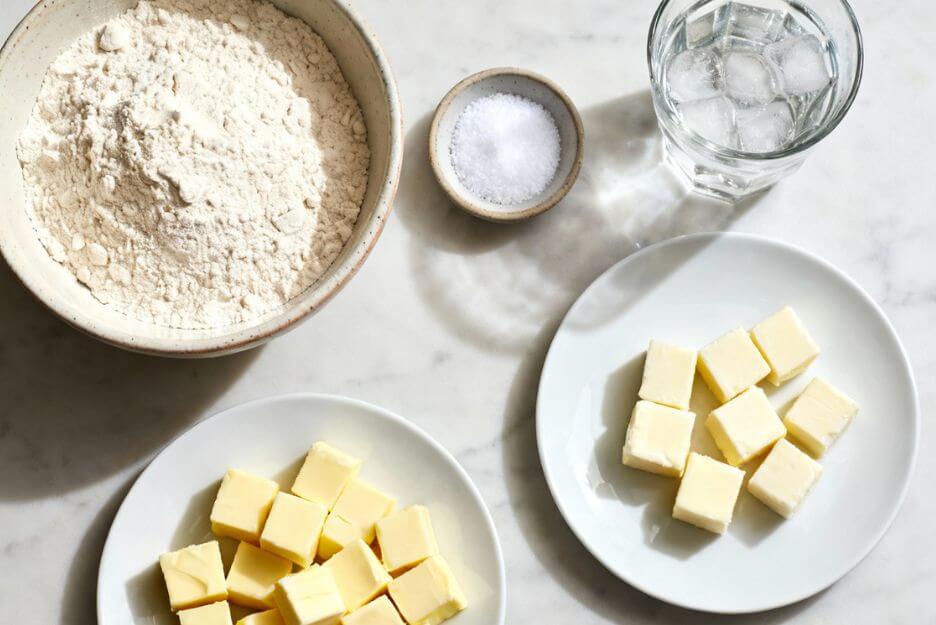
Dry Ingredients
- 2 1/2 cups All-Purpose Flour (plus more for dusting)
- Note on Quality: Use high-quality, unbleached flour for the best texture.
- 1 teaspoon Fine Sea Salt
Fat
- 1 cup (2 sticks or 226g) Unsalted Butter, very cold and cut into 1/2-inch cubes
- 1/4 cup (60g) Solid Vegetable Shortening (like Crisco), very cold and cut into 1/2-inch cubes
- Why two fats? The butter provides superior flavor, while the shortening helps achieve that signature, structural flakiness.
Liquid
- 1/2 cup to 3/4 cup Ice Water (start with 1/2 cup, add more as needed)
Substitution Options (Dietary Alternatives)
- Vegan Pie Dough: Substitute the butter with high-quality vegan butter sticks (ensure they are very firm) for a delicious simple pie dough recipe.
- Gluten-Free: Replace all-purpose flour with a high-quality 1:1 gluten-free baking blend that contains xanthan gum.
- Dairy-Free: Use a combination of all-vegetable shortening (1 1/4 cups total) and skip the butter.
Equipment & Tools Needed
You don’t need a professional kitchen to make the best flaky pie crust recipe!
- Large Mixing Bowl: For combining dry and wet ingredients.
- Pastry Blender or Food Processor: Essential for cutting the fat into the flour.
- Alternative: You can use two table knives or your fingertips (work very quickly to avoid warming the fat).
- Measuring Cups and Spoons: For accuracy.
- Rolling Pin: To roll out your beautiful pie crust.
- Alternative: A clean, straight-sided wine bottle works well in a pinch!
- Plastic Wrap: For chilling the dough.
Step-by-Step Instructions: Your Easy Flaky Pie Crust Recipe
Follow these steps precisely, and you will have the perfect pie dough every time. The key is to keep everything cold and avoid overworking the dough!
1. Combine Dry Ingredients
In your large mixing bowl, whisk together the all-purpose flour and sea salt. Use a large bowl to give yourself plenty of room to mix.
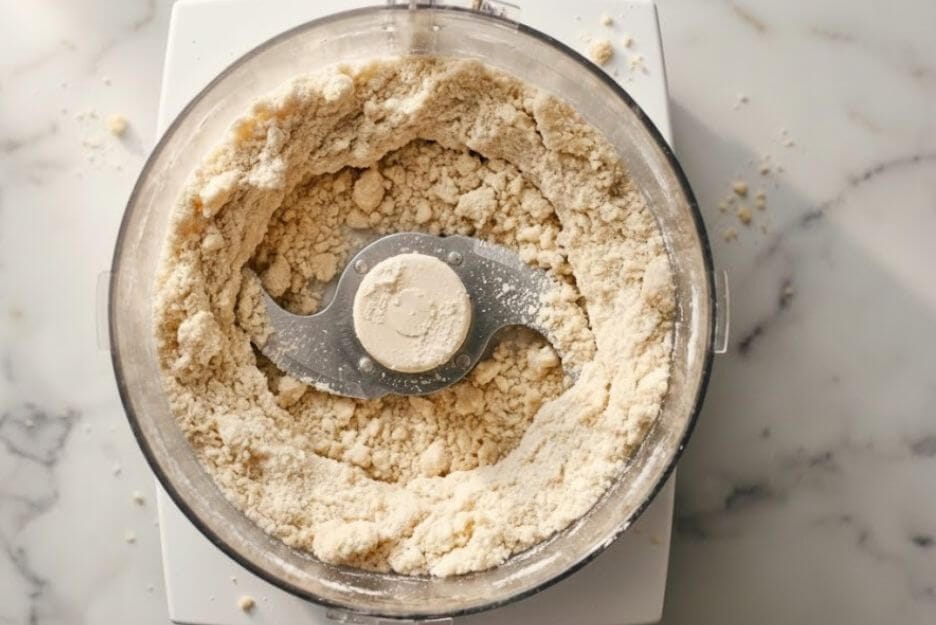
2. Cut in the Cold Fat
Add the very cold, cubed butter and shortening to the flour mixture. Using your pastry blender or pulsing in a food processor, cut the fat into the flour. Stop when you have a mix of pea-sized pieces (for flakiness) and smaller, coarse crumbs. The visual presence of these different-sized pieces of fat is crucial for creating the layers that define a flaky crust.
3. Add Ice Water Gradually
Pour in 1/2 cup of ice water, one tablespoon at a time, and toss the mixture with a fork. Only add more water if the dough is still too dry. The dough is ready when you can squeeze a handful and it holds together without crumbling. Do not add too much water!
4. Gently Form the Dough
Turn the mixture out onto a lightly floured surface. Divide the dough into two equal halves. Gently gather each half into a disc shape do not knead it! Over-handling develops gluten, leading to a tough, not flaky, crust. This is a common pitfall when making a simple pie dough recipe.
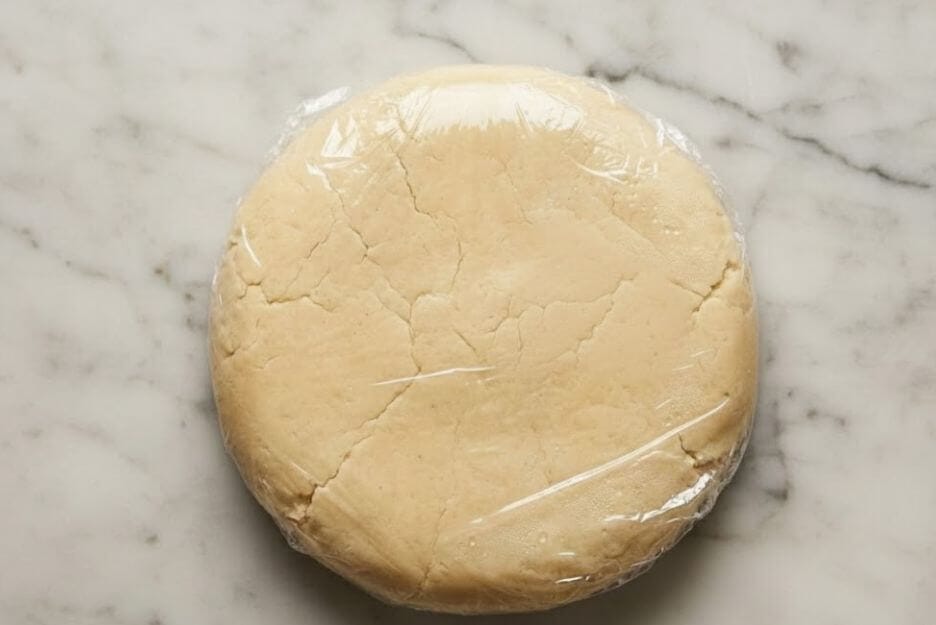
5. Chill the Dough (Essential!)
Wrap each disc tightly in plastic wrap. Refrigerate the dough for at least 1 hour, and up to 2 days. Chilling allows the gluten to relax and solidifies the fat, both of which are critical for a tender, flaky pie crust recipe.
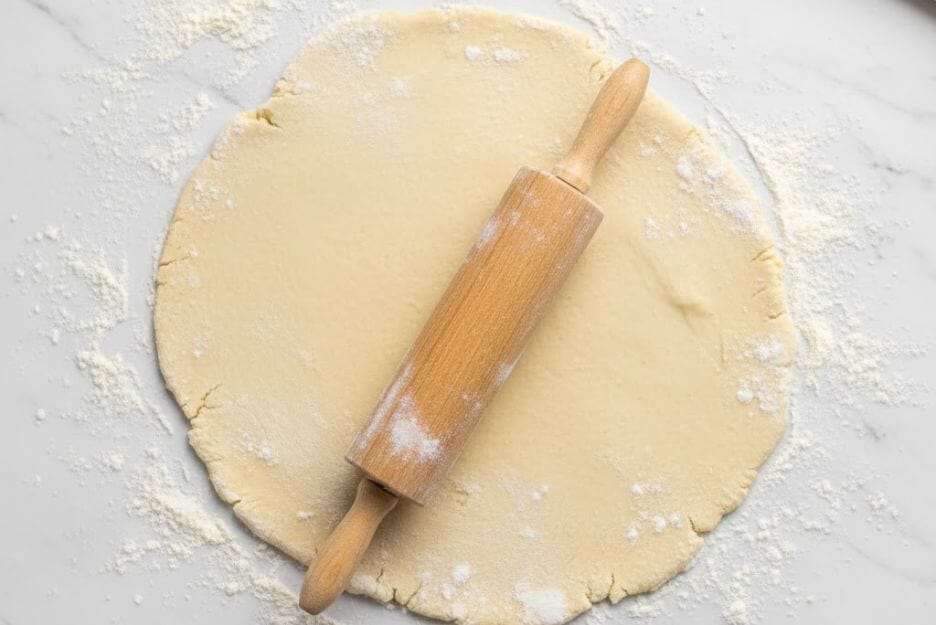
6. Roll and Transfer the Dough
Remove one disc from the refrigerator. Let it sit at room temperature for 5-10 minutes (it should still be very cold). Roll the dough into a 12-inch circle on a lightly floured surface, turning it frequently to prevent sticking. Carefully transfer the rolled dough into a 9-inch pie plate.
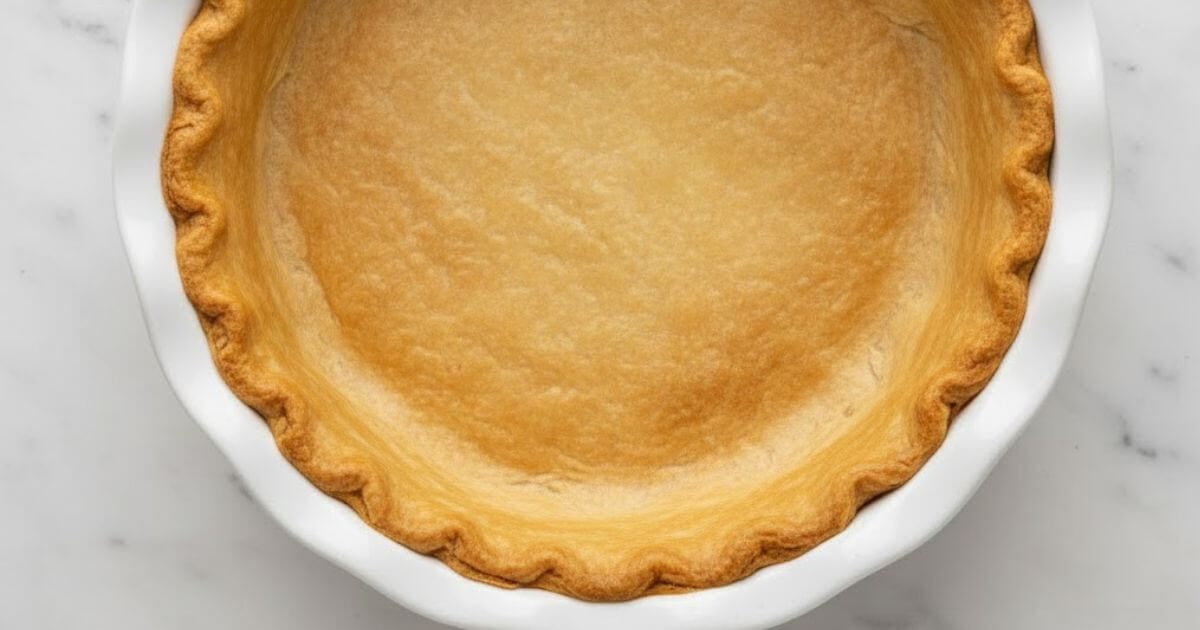
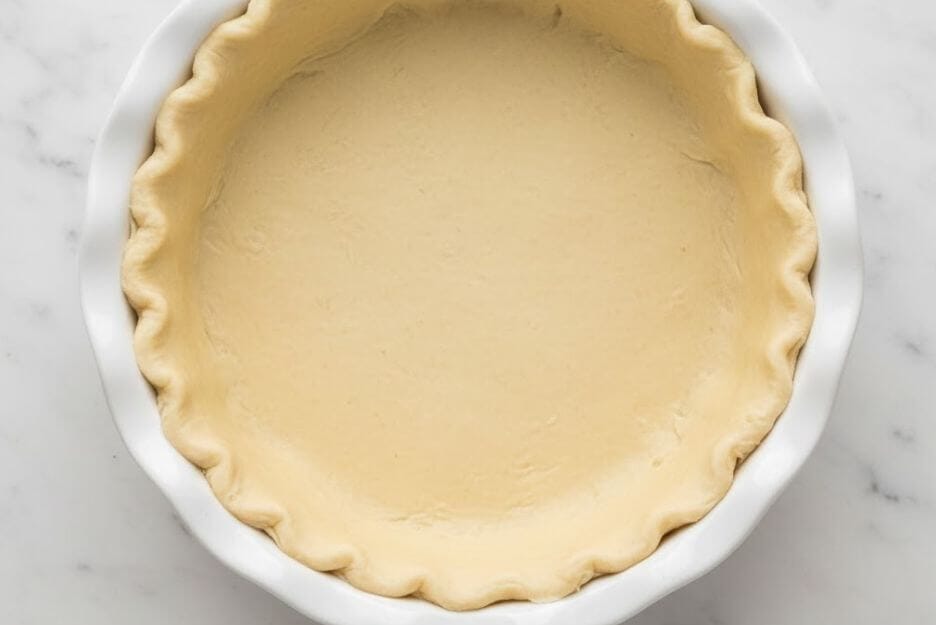
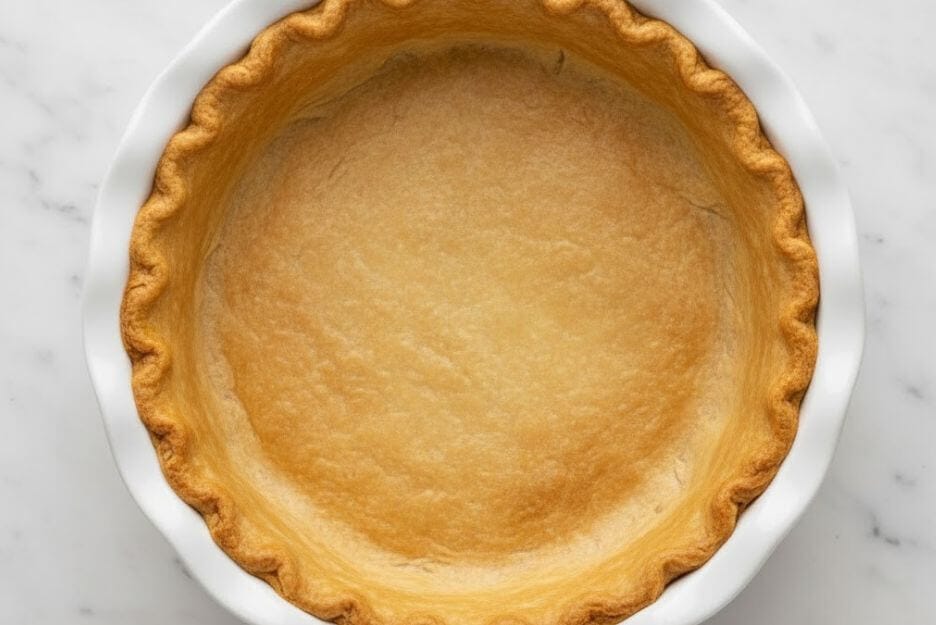
7. Crimp and Bake (or Fill)
Trim the edges, leaving a 1-inch overhang. Fold the overhang under and crimp the edges decoratively. For an unfilled pie (like a baked shell for pudding), line it with parchment paper and pie weights, and blind-bake at 400°F (200°C) for 15-20 minutes, then remove the weights and bake until lightly golden. Otherwise, fill and bake as your recipe instructs.
Expert Tips & Variations
Mastering the best flaky pie crust recipe involves a few pro secrets.
- Keep it Cold, Cold, Cold: This is the single most important rule! Use frozen cubes of butter, ice water, and even chill your mixing bowl before starting. Warm fat melts and blends into the flour, which will result in a mealy, tough crust.
- Don’t Overmix: Stop mixing the moment the dough just barely comes together. Visible streaks of fat are exactly what you want they create the steam pockets for a flaky texture. This is key to a truly easy flaky pie crust recipe.
- Focus on Minimal Handling: If you find your dough is often tough, it means you’ve activated too much gluten. To combat this, minimize kneading and mixing once the liquid is added. After mixing the water in, simply gather the dough into a disc and wrap it immediately. Using a gentle hand and letting the gluten rest completely during the chilling phase is the best way to ensure a tender and pliable dough.
- Use the Right Flour: A protein-content of 10-12% (standard All-Purpose) is ideal. High-protein bread flour will create a tough crust.
- Freezing for Later: You can freeze the tightly wrapped discs of pie crust for up to 3 months. Thaw in the refrigerator overnight before rolling.
Storage & Reheating Instructions
You can prepare this simple pie dough recipe ahead of time!
- Storage (Unbaked Dough): Tightly wrapped dough discs can be stored in the refrigerator for up to 3 days.
- Shelf Life (Baked Pie): A fully baked, filled pie should be covered loosely with plastic wrap and stored at room temperature for up to 2 days (for fruit pies). Cream-based pies must be refrigerated.
- Freezing Unbaked Shell: Press the dough into the pie plate and wrap it tightly in aluminum foil. It can be frozen for up to 1 month. To bake, simply remove the foil and bake directly from frozen, adding about 15-20 minutes to the baking time.
- Reheating: To warm up a slice of leftover pie, place it on a baking sheet and heat in an oven set to 300°F (150°C) for about 10-15 minutes. This helps restore some crispness to the crust.
Serving Suggestions
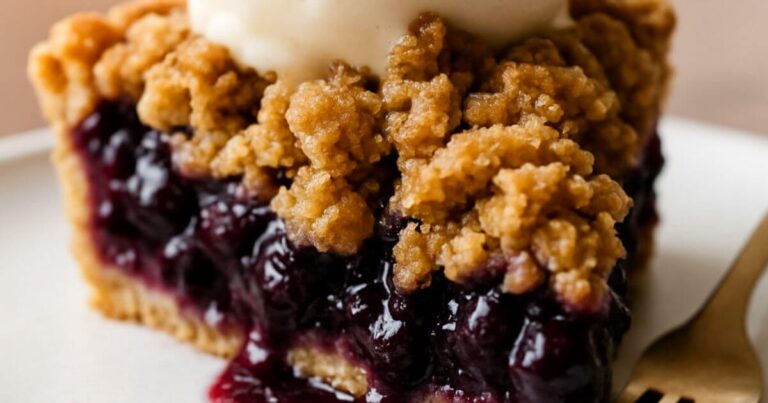
This versatile pie crust is the perfect partner for nearly any filling.
- Sweet Fillings:
- Classic Apple pie, Cherry, or Peach Pie
- Pecan pie or Pumpkin Pie for the holidays
- Savory Fillings:
- Hearty Chicken Pot Pie
- Quiche Lorraine or Spinach Quiche
- Garnishes & Presentation: Dust the finished crust with a light layer of powdered sugar, or brush the top crust with an egg wash and sprinkle with coarse sugar before baking for a golden, crunchy finish.
- Beverage Pairings: A good, flaky crust pairs wonderfully with a warm cup of coffee or a cold glass of milk.
FAQ Section: All Your Pie Crust Questions Answered
Q1: Why is my pie crust tough instead of flaky?
A: A tough crust is almost always caused by over-mixing or too much water. Over-mixing develops gluten, which makes the dough elastic and chewy. Remember the golden rule for the best flaky pie crust recipe: mix just until the dough comes together.
Q2: What’s the difference between using all butter and a butter/shortening mix?
A: All-butter crusts have the best flavor but can be slightly more challenging to work with. Adding shortening, as we do in this Flaky Pie Crust recipe, makes the dough more tender, easier to roll, and guarantees a taller, more noticeable flakiness because of its high melting point.
Q3: How do I prevent the bottom of my pie crust from getting soggy?
A: This common problem is called a “soggy bottom.” To avoid it, pre-bake (“blind bake”) the bottom crust for 10-15 minutes before adding your wet filling. You can also brush the raw bottom crust with a thin layer of egg white before filling and baking the egg white creates a waterproof barrier.
Q4: Can I use lard instead of shortening in this recipe?
A: Absolutely! Lard is traditional and makes a fantastic, incredibly flaky pie crust recipe. Simply substitute the shortening for leaf lard (the highest quality). The taste will be slightly different, but the flakiness will be superb.
Q5: How long should I chill the dough for the best results?
A: A minimum of 1 hour is required, but chilling it for 2 hours yields the best flaky pie crust recipe results. The chill time gives the gluten time to relax completely and ensures the fat is rock solid, ready to create those steam-pocket layers.
You now have all the tools and techniques needed to conquer the Flaky Pie Crust recipe! By remembering to keep your ingredients cold, handle the dough minimally, and chill before baking, you can achieve a tender, buttery, and beautifully flaky crust every time. This simple pie dough recipe is your ticket to a lifetime of perfect pies, both sweet and savory. Enjoy the process and the delicious results!