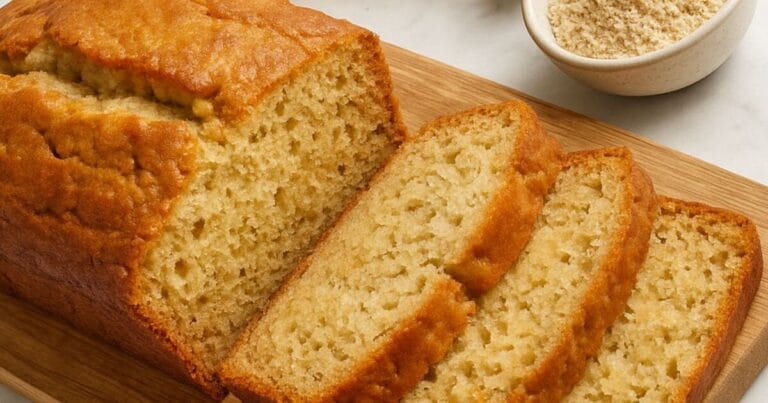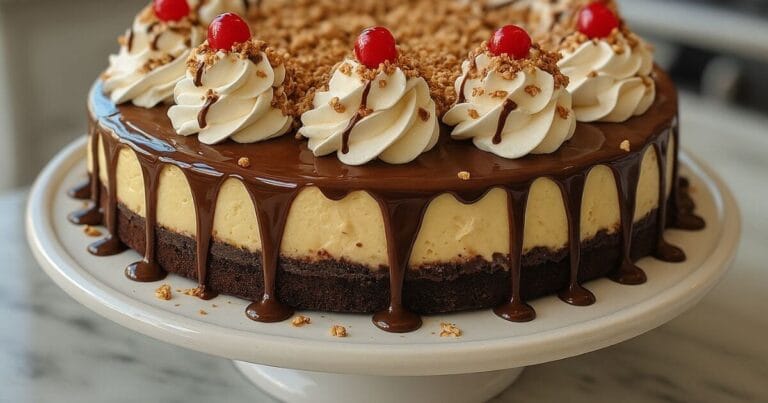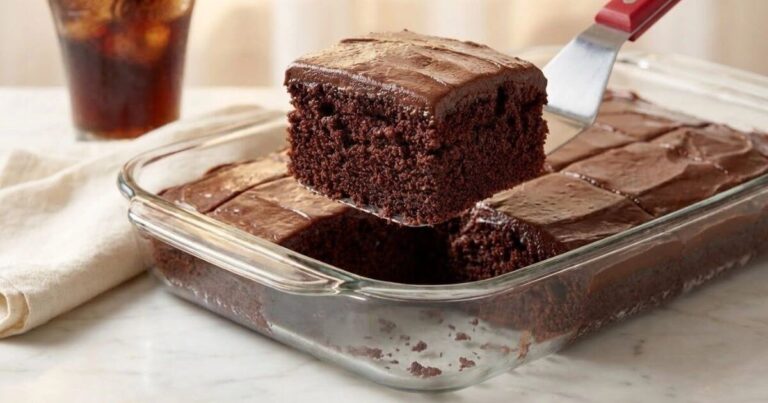
Brownie Cakes: 5 Easy Steps to Gooey Perfection
Okay, picture this: you take your fork and dive into something that’s basically a brownie and a cake that had the most amazing baby together. I’m talking about brownie cakes that combine that dense, fudgy goodness you love in brownies, but with this light, fluffy cake texture that just melts in your mouth. These homemade brownie cakes are literally the best of both worlds, and trust me – once you try making brownie cakes like this, you’ll be whipping them up for every single occasion (or just because it’s Tuesday and you deserve chocolate).
Now, I know what you’re thinking – “Why not just grab a box mix from the store?” Look, I get it. Box mixes are convenient, but they’re also kinda… meh. These from-scratch brownie cakes are where the magic happens. We’re talking premium ingredients, foolproof techniques, and that “holy cow, did I really make this?” moment when you take your first bite. Whether you’re celebrating someone’s birthday, trying to impress your dinner guests, or just having one of those days where only chocolate will do, these brownie cakes have got your back.
I’m gonna walk you through everything – and I mean everything – so you can nail this cake every single time. We’ll cover all the insider tricks, what to do when things go sideways (because hey, it happens), and tons of fun ways to switch things up.
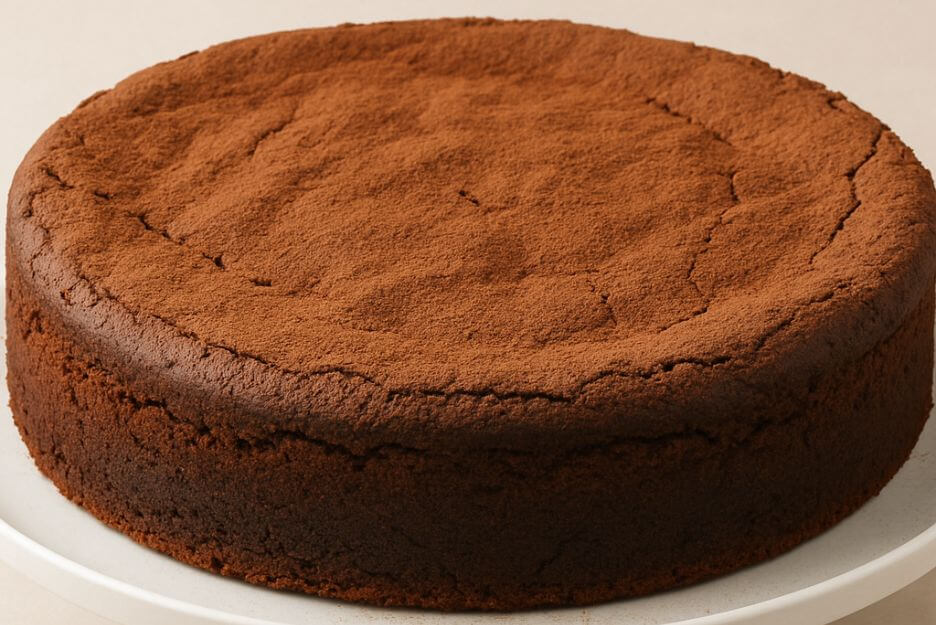
Table of Contents
Why You’re Gonna Fall Hard for These Brownie Cakes
Here’s the thing that makes these brownie cakes totally different from anything else you’ve tried: they’ve got this incredible texture thing going on that most recipes just can’t pull off. You know how regular cakes can be too light and airy, and brownies can be a bit too dense? Well, these brownie cakes hit that sweet spot right in the middle.
The secret sauce? We’re folding whipped cream into a rich chocolate base. I know, I know – it sounds fancy, but it’s actually super easy. What happens is you get these little air pockets throughout the cake that make it light and tender, but you still keep all that fudgy, brownie-like richness. The top gets this gorgeous crusty layer (just like a brownie!), and then underneath it’s pure chocolate heaven.
And can we talk about the flavor for a hot second? We’re using real unsweetened chocolate and natural cocoa powder – none of that artificial stuff. It’s like the difference between drinking gas station coffee and that perfect cup from your favorite café. The chocolate flavor is so deep and rich, it’ll make those box mixes taste like cardboard in comparison.
Plus, these brownie cakes are crazy versatile. Same batter works for a fancy bundt cake when you want to show off, layer cakes when you’re feeding a crowd, or cupcakes when you need individual portions. Basically, brownie cakes are the Swiss Army knife of chocolate desserts.
I’ve tested this thing more times than I care to admit (my family was definitely not complaining), and it works perfectly every single time. That’s the beauty of baking from scratch – when you understand what each ingredient does, you get consistent, amazing results.
What You’ll Need (And Why Each Thing Matters)
Alright, let’s talk ingredients. I promise I won’t get too nerdy here, but understanding what each thing does will help you nail this cake every time.
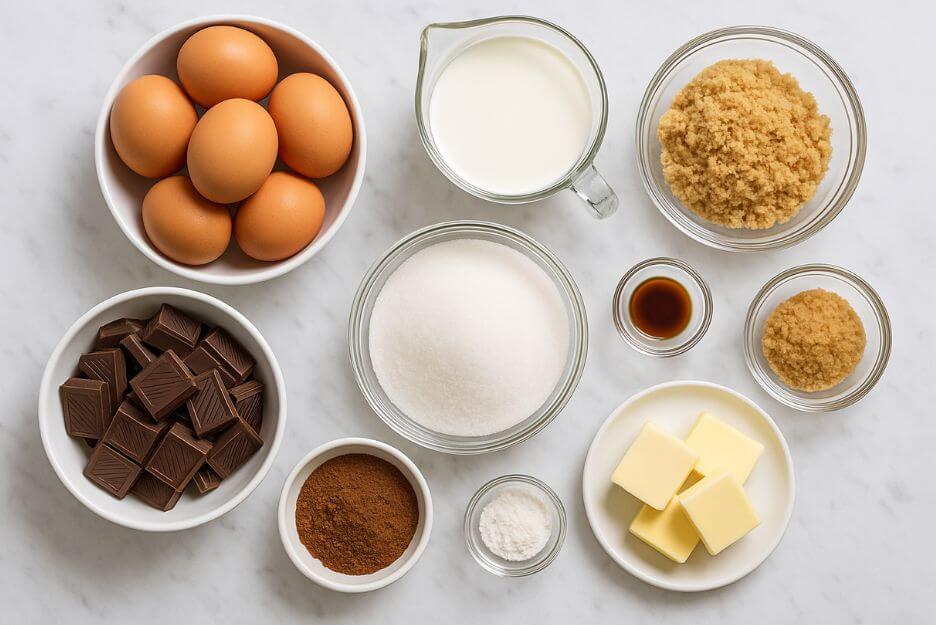
Your Shopping List
- 6 ounces good unsweetened chocolate, chopped up
- 1 cup heavy whipping cream
- 3 tablespoons natural cocoa powder (not the Dutch stuff for now)
- 1½ cups regular sugar
- ½ cup packed brown sugar (the good molasses-y kind)
- 4 large eggs (room temp – I’ll explain why in a sec)
- 1 teaspoon vanilla extract
- 1 cup all-purpose flour
- ½ teaspoon salt
- ½ teaspoon baking powder
- 4 tablespoons butter, melted and cooled
Why These Ingredients Are the MVPs
The Chocolate Squad (Unsweetened Chocolate & Cocoa Powder): These two are your flavor powerhouses. The unsweetened chocolate gives you that pure, intense chocolate taste without any extra sugar messing with our carefully balanced sweetness. The cocoa powder adds even more depth, especially when we “bloom” it with hot cream (fancy term for waking up all those chocolate flavors).
Heavy Cream: This is our texture secret weapon. First, we heat it up to bloom that cocoa powder, then we cool it down and whip it up. When we fold this fluffy goodness into our chocolate batter, it creates those amazing air pockets that make the cake light but still rich.
The Sugar Duo: I use both regular and brown sugar because they each bring something different to the party. Regular sugar dissolves cleanly and makes everything smooth, while brown sugar adds moisture and these subtle molasses notes that make the chocolate even more amazing.
Room Temperature Eggs: This is super important! Cold eggs straight from the fridge won’t mix properly and you’ll end up with lumpy batter. Nobody wants that. Just take them out about an hour before you start baking.
What If You Don’t Have Everything?
Look, I get it – sometimes you’re missing something or you’ve got dietary restrictions. Here’s what you can swap:
Dutch Cocoa Instead of Natural: Totally fine, but your cake will be a bit milder and darker. Dutch cocoa is processed differently, so it’s less acidic.
Semi-Sweet Chocolate Instead of Unsweetened: You can do this, but cut back on the regular sugar by about ¼ cup or your cake will be too sweet.
Oil Instead of Butter: Vegetable oil or melted coconut oil work, but they’ll change the flavor a bit. Oil makes things super tender, and coconut oil adds this subtle tropical vibe.
Half-and-Half Instead of Heavy Cream: It’ll work, but your cake won’t be quite as rich. Coconut cream is another option, but it definitely changes the flavor profile.
Let’s Make This Thing! (Step-by-Step)
Okay, here’s where the magic happens. I’m gonna walk you through every single step, and trust me – if I can do this, you absolutely can too.
Getting Set Up
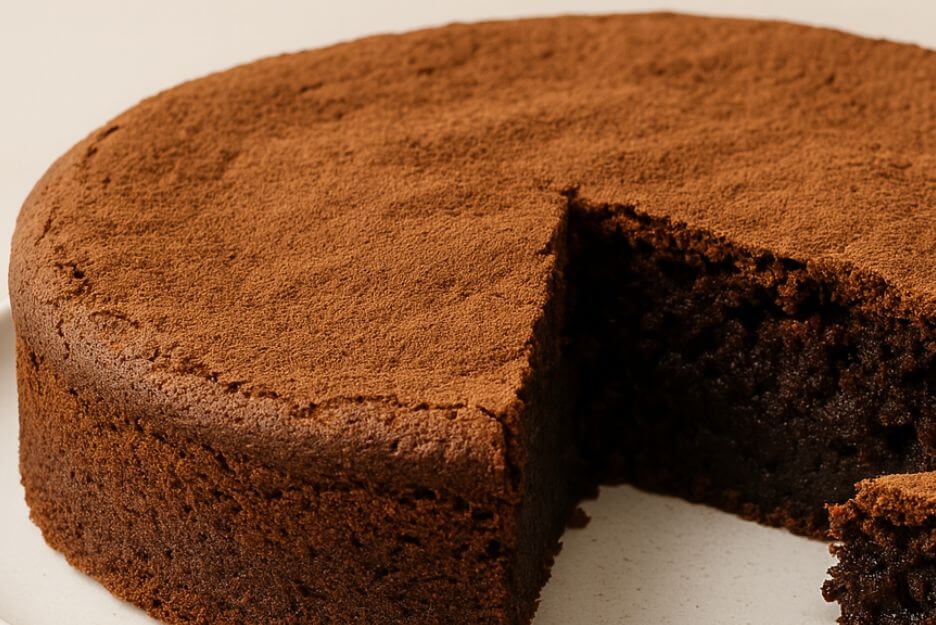
- Heat that oven to 350°F. Grease a 9-inch round cake pan really well (I’m talking like you’re buttering toast), then dust it with cocoa powder. Tap out the excess – we just want a light coating.
- Melt your chocolate: Chop up that unsweetened chocolate and put it in a microwave-safe bowl with 2 tablespoons of hot cream. Microwave in 30-second bursts, stirring between each one, until it’s smooth and glossy. Don’t rush this part!
- Bloom the cocoa: Take the rest of your hot cream and whisk it with the cocoa powder until it’s totally smooth. Now here’s the key – let this cool down to room temperature. Go fold some laundry or something. It takes about 15-20 minutes.
Making the Batter
- Whip that cream: Once your cocoa-cream mixture is cool, grab your electric mixer and whip it until you get soft peaks. This is what’s gonna make your cake light and fluffy instead of dense like a brick.
- Mix the chocolate base: In your biggest mixing bowl, whisk together the melted chocolate and both sugars. It should look glossy and feel slightly warm (not hot).
- Add eggs one by one: This is important – don’t dump them all in at once! Add each egg, mix it in completely, then add the next. Your mixture should get smooth and shiny.
- Vanilla and butter time: Mix in the vanilla and that melted (but cooled) butter until everything’s combined.
- Gentle with the flour: In a separate bowl, whisk together your flour, salt, and baking powder. Then gently fold this into your chocolate mixture. Don’t go crazy here – just mix until you can’t see any white streaks.
- The magic moment: Take about a quarter of your whipped cream and fold it into the chocolate batter first. This lightens things up. Then gently fold in the rest of the whipped cream. Use a big spoon or spatula and be gentle – you want to keep all those air bubbles!
Baking Time
- Into the pan: Scrape all that gorgeous batter into your prepared pan and spread it out evenly.
- Bake it: Pop it in the oven for 28-32 minutes. You’ll know it’s done when the top looks set and a little crusty, and a toothpick comes out with just a few moist crumbs.
- Patience, grasshopper: Let it cool completely in the pan. I know it smells amazing and you want to dive in, but trust me on this one.
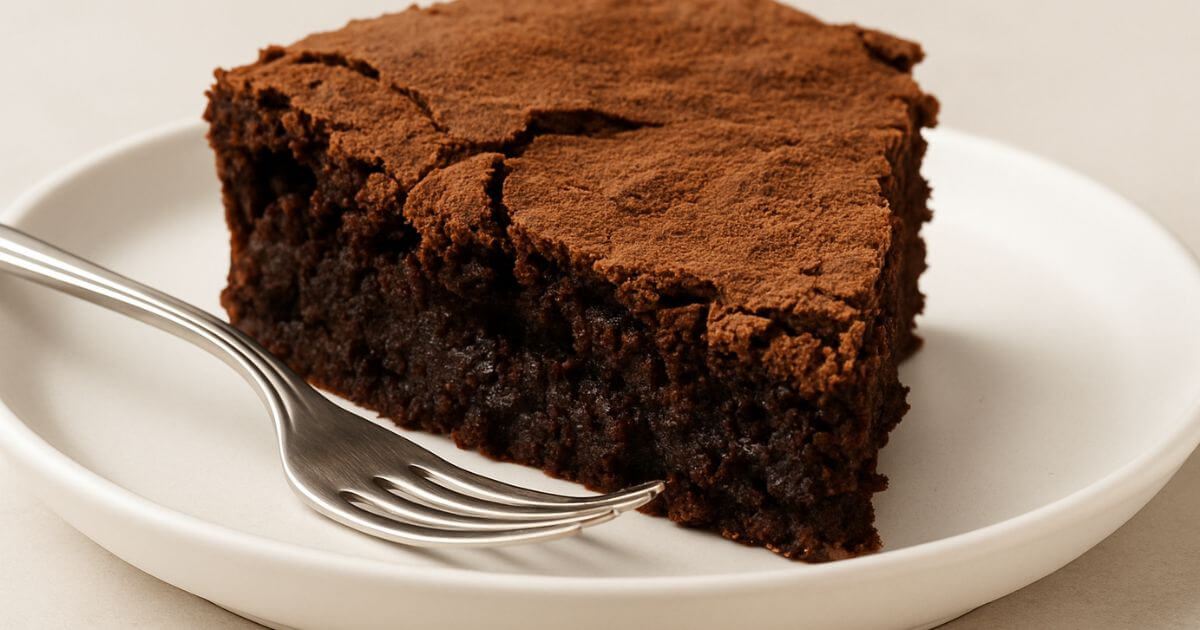
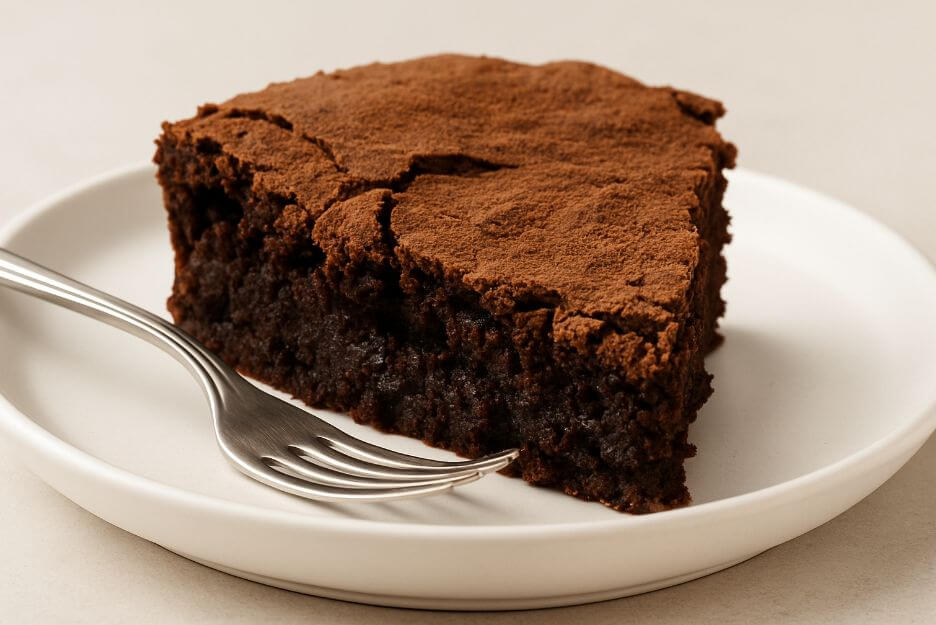
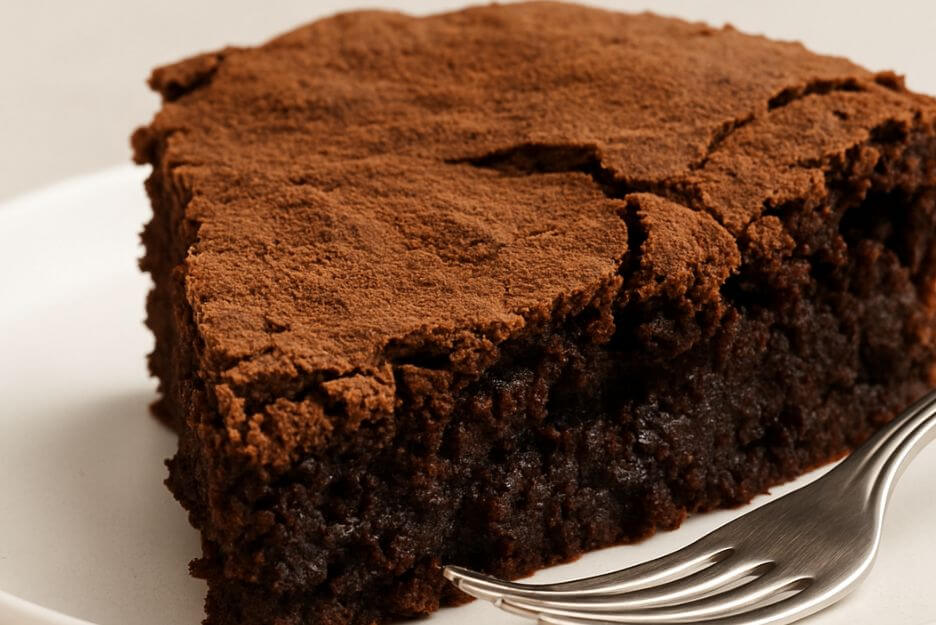
How to Know When It’s Perfect
The top should look set and slightly crusty (just like a brownie), and the edges might pull away from the pan just a tiny bit. When you stick a toothpick in the center, you want a few moist crumbs – not wet batter, but definitely not completely clean either.
And here’s a pro tip: every oven is different. Some run hot, some run cool. Start checking around 25 minutes and trust what you see more than the timer.
My Best Tips & How to Fix Things When They Go Wrong
After making this cake about a million times (okay, maybe not a million, but close), I’ve learned some tricks that’ll save you from disaster.
General Tips That’ll Make You Look Like a Pro
Pour that hot cream slowly: When you’re adding hot cream to chocolate, go slow and whisk constantly. If you dump it all in at once, your chocolate might seize up and get all chunky. Not cute.
Fold, don’t stir: When you’re adding that whipped cream, use a gentle folding motion. Cut down through the batter, sweep across the bottom, and fold up and over. Rotate the bowl as you go. You want to keep those air bubbles intact.
Tap it out: Once your batter’s in the pan, give it a few gentle taps on the counter to release any big air bubbles and level things out.
Get an oven thermometer: Seriously, this changed my baking game. Most ovens are liars about their temperature.
When Things Don’t Go According to Plan
Cake turned out dry and crumbly: You probably overbaked it. Check your oven temp with a thermometer and maybe set a timer for a few minutes earlier next time.
Dense and heavy instead of light: Either you didn’t whip the cream enough, or you overmixed after adding the flour. Whip that cream to soft peaks and fold gently!
Not sweet enough: Dust with powdered sugar before serving, or serve with some sweetened whipped cream. Don’t add more sugar to the batter – it’ll mess with the texture.
Center sank: Usually means it’s underbaked or your oven temp fluctuated. Don’t open the oven door for the first 20 minutes – I know it’s tempting!
Fun Ways to Switch It Up
One of the best things about this recipe is how you can make it your own. Here are some of my favorite variations:
Different Pans, Different Vibes
Bundt Pan: Use a 10-12 cup bundt pan and bake for 35-40 minutes. So elegant!
Layer Cake: Divide between two 8-inch round pans and bake for 22-25 minutes. Perfect for birthdays.
Cupcakes: Fill muffin cups about 2/3 full and bake for 18-22 minutes. You’ll get about 18 cupcakes.
Square Pan: 9×9 inch pan works great with the original timing.
Flavor Adventures
Chocolate Chip Overload: Fold in a cup of mini chocolate chips for extra chocolatey goodness.
Go Nuts: Add ¾ cup of chopped toasted walnuts, pecans, or hazelnuts. Toast them first for better flavor!
Coffee Boost: Add a tablespoon of instant espresso powder to the cream mixture. It won’t taste like coffee, but it’ll make the chocolate flavor pop even more.
Mint Madness: Replace the vanilla with ½ teaspoon peppermint extract. It’s like a sophisticated Thin Mint!
Topping Ideas
Simple Ganache: Equal parts heavy cream and chopped dark chocolate. Heat the cream, pour over chocolate, let sit for 2 minutes, then stir until smooth.
Cream Cheese Frosting: The tanginess is perfect with all that rich chocolate.
Easy Glaze: Powdered sugar + milk + vanilla = instant glaze.
Fresh Berries: They cut through all that richness beautifully.
Storage & Make-Ahead Magic
Here’s the cool thing about this cake – it actually gets better after sitting for a day. The flavors meld together and the texture settles into perfection.
How to Store It
Room Temperature: Cover it well and it’ll keep for 3 days. This is actually the best way to store it for optimal texture.
Fridge: Wrapped properly, it’ll last 5-7 days. Just bring it back to room temp for about 30 minutes before serving.
Freezer: Wrap individual slices or the whole cake in plastic wrap, then foil. It’ll keep for 3 months. Thaw in the fridge overnight, then bring to room temp.
Make-Ahead Strategies
Day Before: This is actually perfect timing. Bake it, let it cool, cover it, and let it sit overnight. It’ll be even better the next day.
Prep Components: You can make that cream mixture and prep your dry ingredients up to 2 days ahead. Just store the cream mixture in the fridge and bring everything to room temp before mixing.
Freezer Batter: You can actually freeze the batter right in the prepared pan for up to a month. Bake it straight from frozen – just add 8-10 minutes to the baking time.
The Bottom Line
Look, I’ve shared a lot of recipes, but this brownie cake? This is the one that gets people talking. It’s the recipe friends text me about at midnight asking for “that chocolate cake recipe again.” It’s what I bring to potlucks when I want to make sure there are no leftovers to take home.
The best part is watching people’s faces when they take that first bite – you can literally see the moment they realize this isn’t just any old chocolate cake. It’s something special.
So whether you’re a baking newbie or you’ve been at this for years, I promise this recipe will become one of your go-tos. It’s foolproof enough that you won’t stress about it, but impressive enough that people will think you’re some kind of baking wizard.
Trust me on this one – make this cake, watch people’s reactions, and then sit back and enjoy being the person who made that incredible chocolate cake. You’ve earned it!