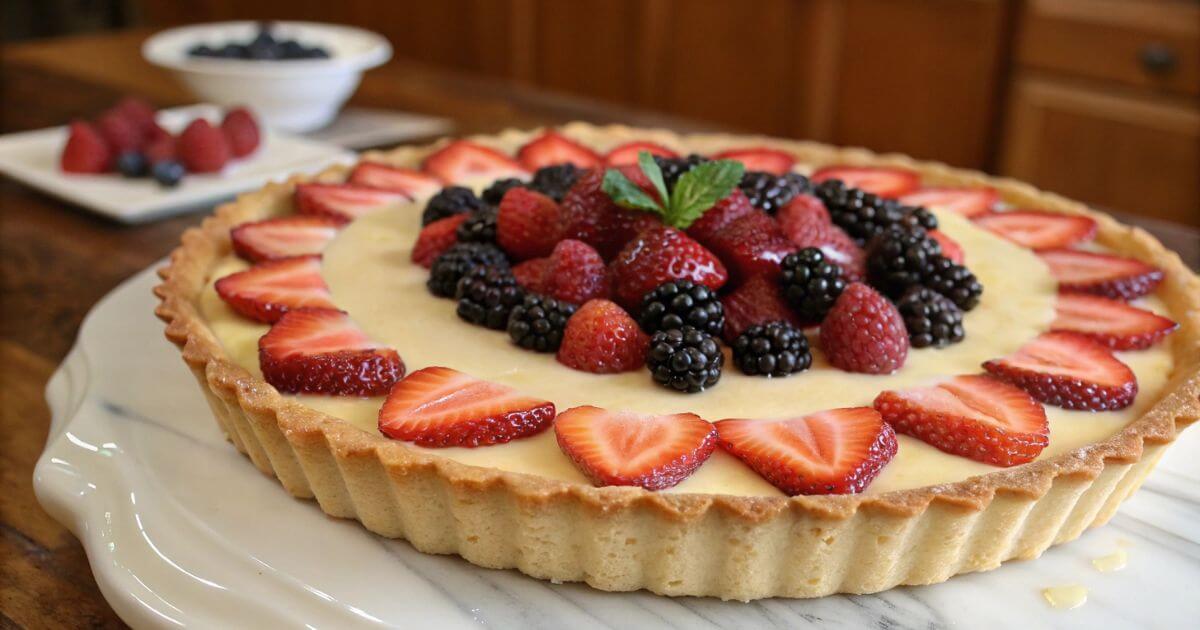
Berry Tarts: 5 Easy Steps to a Bakery-Style Treat
There’s something irresistibly charming about a Berry Tart a golden, buttery crust cradling a smooth cream filling and crowned with a colorful array of berries. Whether you’re prepping for a summer brunch, a weekend family treat, or an elegant dinner party, Berry Tarts add a touch of bakery-style sophistication with surprisingly simple steps.
Originally inspired by classic French patisserie, berry tarts have made their way into home kitchens worldwide. They beautifully balance sweet and tangy flavors while showcasing fresh, seasonal produce. Even better? They’re versatile, crowd-pleasing, and easy enough for beginners.
This berry tart recipe is perfect if you’re short on time but still want to wow your guests. It’s light, refreshing, and can be customized with your favorite fruits or made ahead for stress-free entertaining. Let’s dive in and learn how to make these stunning treats in just five easy steps!
Table of Contents
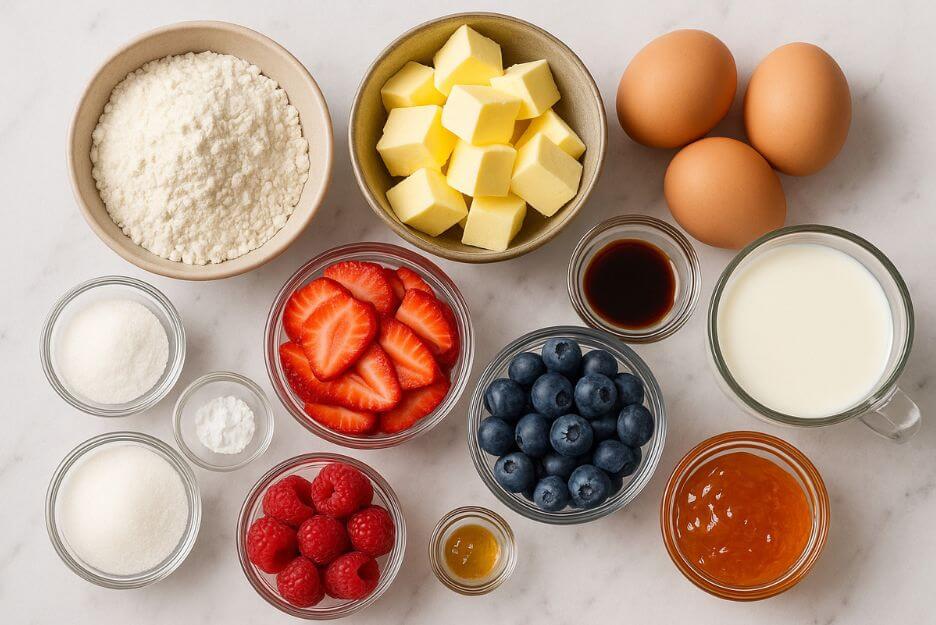
Ingredients
For the Tart Crust:
- 1 1/4 cups all-purpose flour
- 1/2 cup unsalted butter (cold and cubed)
- 1/4 cup powdered sugar
- 1/4 tsp salt
- 1 large egg yolk
- 1–2 tbsp cold water
Substitutions:
- For gluten-free: Use a 1:1 gluten-free flour blend
- For dairy-free: Substitute plant-based butter
For the Filling:
- 1 cup whole milk
- 3 egg yolks
- 1/4 cup granulated sugar
- 2 tbsp cornstarch
- 1 tsp vanilla extract
- 1 tbsp unsalted butter
Substitutions:
- Almond milk can replace whole milk (but custard will be thinner)
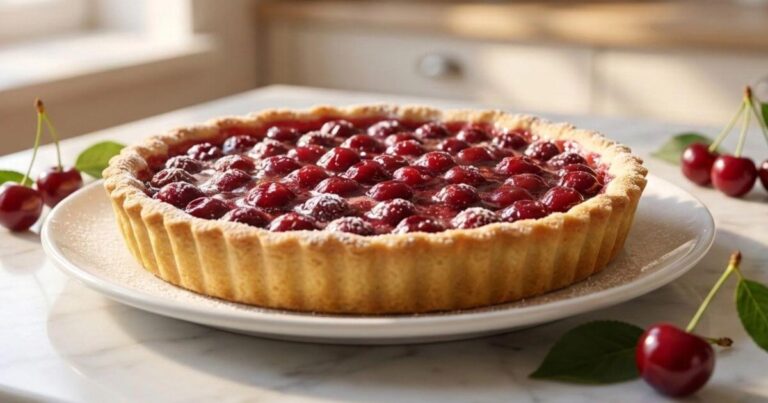
For the Berry Topping:
- 1 cup strawberries, sliced
- 1/2 cup blueberries
- 1/2 cup raspberries
- 1 tbsp apricot jam (optional, for glaze)
- 1 tsp water (to thin the jam)
Note: Use fresh, firm berries for best results. Frozen berries release too much moisture and may ruin the crisp texture.
Equipment/Tools Needed
- 4-inch mini tart pans or one 9-inch tart pan (with removable bottom)
- Rolling pin
- Mixing bowls
- Whisk
- Saucepan
- Pastry brush
- Fine mesh sieve (optional, for a smoother custard)
Step-by-Step Instructions
Step 1: Mix and Chill the Dough
Start by whisking the flour, powdered sugar, and salt in a large bowl. Add the cold butter cubes and gently press them into the flour using your fingertips or a pastry blender. Stop once the mixture looks crumbly with pea-sized bits of butter. Stir in the egg yolk and gradually add cold water, one tablespoon at a time, until a soft dough forms. Flatten into a disc, wrap it tightly, and let it chill in the fridge for 30–45 minutes.
Keep the butter cold! That’s the secret to a crisp, flaky crust.
Step 2: Shape and Bake the Crust
Preheat your oven to 375°F (190°C). Lightly flour your surface and roll out the dough until it’s about 1/8 inch thick. Gently press it into tart pans, trim any overhang, and use a fork to poke small holes on the bottom. Cover the crusts with parchment and add pie weights or rice. Bake for 15 minutes, then remove the weights and parchment, and bake for 8–10 minutes more until golden. Set aside to cool completely.
Step 3: Whisk the Custard Filling
In a saucepan, combine egg yolks, sugar, and cornstarch. Slowly whisk in the milk until smooth. Cook over medium heat, stirring nonstop until the mixture thickens—this usually takes 6 to 8 minutes. Once it’s thick like pudding, take it off the heat and stir in the butter and vanilla. Let it cool slightly before filling your tarts.
This step is key for that creamy, rich center—don’t walk away from the stove!
Step 4: Fill and Decorate
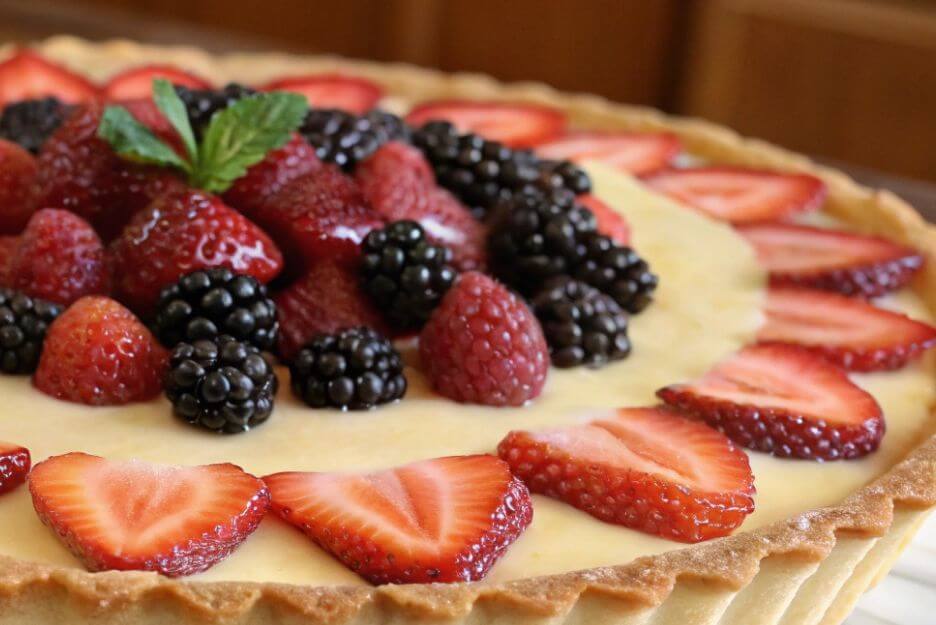
Once the crusts are completely cool, spoon in the custard and smooth the tops. Now comes the fun part—arrange fresh berries however you like! You can go with neat concentric circles or an artsy scatter for a rustic feel. Use a mix of strawberries, blueberries, and raspberries for color and contrast.
Step 5: Add Shine and Chill
To make your tarts glossy and preserve the fruit, warm a tablespoon of apricot jam with a teaspoon of water. Brush the mixture gently over the berries. Pop the tarts into the fridge for at least an hour to set before serving.
Visual cue: The glaze should be glossy, not runny.
Expert Tips & Variations
- Use cold butter for a flaky crust.
- Chill your dough before rolling—it prevents shrinkage during baking.
- Don’t skip blind baking—it keeps the crust from getting soggy.
- Use a sieve to strain your custard if it forms lumps.
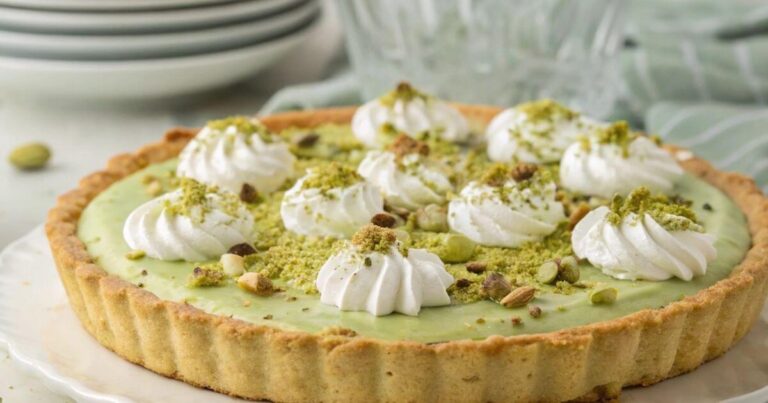
- Top with mint leaves or edible flowers for a professional touch.
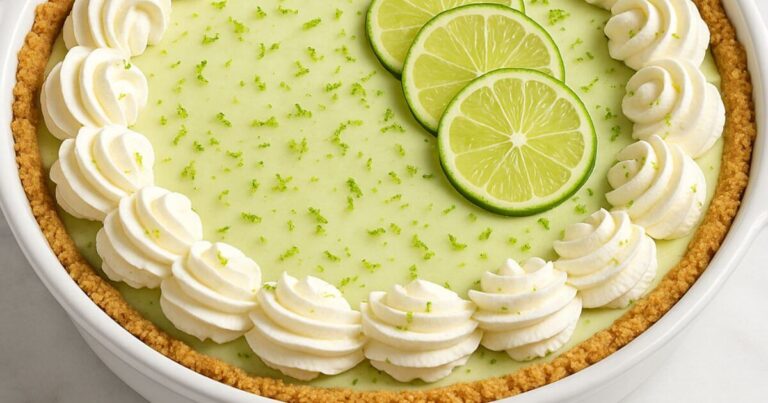
- Try lemon or orange zest in the custard for added brightness.
- Mini tartlets are perfect for parties and portion control.
Common mistake: Overfilling the tart with custard can cause it to spill when you add berries—leave about 1/4 inch at the top.
Nutritional Information (per mini tart)
- Calories: 320
- Protein: 5g
- Carbohydrates: 38g
- Sugars: 18g
- Fat: 17g
- Saturated Fat: 10g
- Fiber: 2g
Health benefits:
- Berries are rich in antioxidants and vitamin C.
- Eggs provide high-quality protein and essential vitamins.
- Choose a whole grain crust to boost fiber.
Disclaimer: Nutritional values are estimates and may vary based on ingredients used.
Storage & Reheating Instructions
- Store in fridge: Keep leftover berry tarts in an airtight container for up to 3 days.
- Avoid soggy crusts: Store tart shells separately and fill just before serving.
- Freeze option: Freeze unfilled tart shells up to 2 months; thaw and bake as needed.
- Reheating: Not typically recommended, as it can make the custard runny. Serve chilled.
Serving Suggestions
- Side dishes:
- Fresh fruit salad
- Light cucumber mint salad
- Lemon sorbet
- Garnishes:
- Mint sprigs
- Dusting of powdered sugar
- Thin lemon zest curls
- Beverage pairings:
- Earl Grey tea
- Iced lavender lemonade
FAQ Section
Q1: Can I make Berry Tarts ahead of time?
Yes! Bake the crust and make the filling a day in advance. Assemble the day you serve for best texture.
Q2: What fruits work best in a berry tart recipe?
Strawberries, raspberries, blueberries, and blackberries are ideal. You can also add kiwi or mango for a twist.
Q3: How do I keep the tart crust from getting soggy?
Blind baking and cooling the crust before adding filling helps prevent sogginess.
Q4: Is this berry tart recipe easy for beginners?
Absolutely. Each step is beginner-friendly, and with a bit of prep, you’ll feel like a pro.
Q5: Can I make this recipe gluten-free?
Yes. Use a gluten-free flour mix in the crust and ensure your filling ingredients are gluten-free.
Q6: How long can I store leftover berry tarts?
Up to 3 days in the refrigerator. Keep them in a covered container for freshness.
Q7: Can I use store-bought crust?
Yes, but homemade adds the best flavor. If using store-bought, choose an all-butter pastry for quality.
With their buttery crust, silky custard, and vibrant berry topping, Berry Tarts are the ultimate balance of flavor and beauty. Whether you’re a seasoned baker or just starting out, this berry tart recipe is easy to follow and guaranteed to impress.