Bundt Cupcakes: 8 Best Steps to Bake
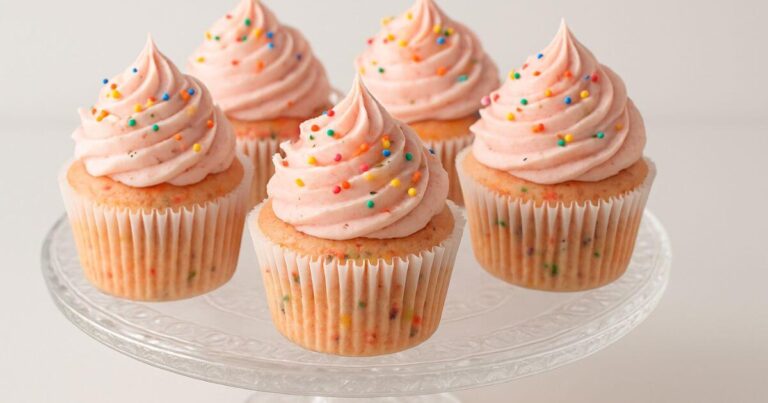
Is there anything more charming than a miniature dessert? There is something undeniable about the appeal of Bundt Cupcakes. They take the elegance and structural beauty of a classic, full-sized Bundt cake and shrink it down into an adorable, individual serving.
If you have ever felt intimidated by flipping a massive, heavy Bundt cake hoping it doesn’t stick to the pan, these mini versions are your new best friend. They bake faster, are easier to share, and offer built-in portion control (though, let’s be honest, it’s hard to eat just one).
Historically, the Bundt pan gained massive popularity in the 1950s and 60s thanks to Nordic Ware, bringing European “Kugelhopf” styles to American kitchens. Today, the mini version has taken the baking world by storm. They are the perfect solution for bridal showers, tea parties, or just a Tuesday night when you want something special without the hassle of slicing a large cake.
Whether you are looking for a quick weekend project or a show-stopping dessert for a party, this guide will walk you through the process. We are going to cover everything you need to know to achieve the Best Bundt Cupcakes you’ve ever tasted.

Let’s get those mixers ready!
Table of Contents
Ingredients Section
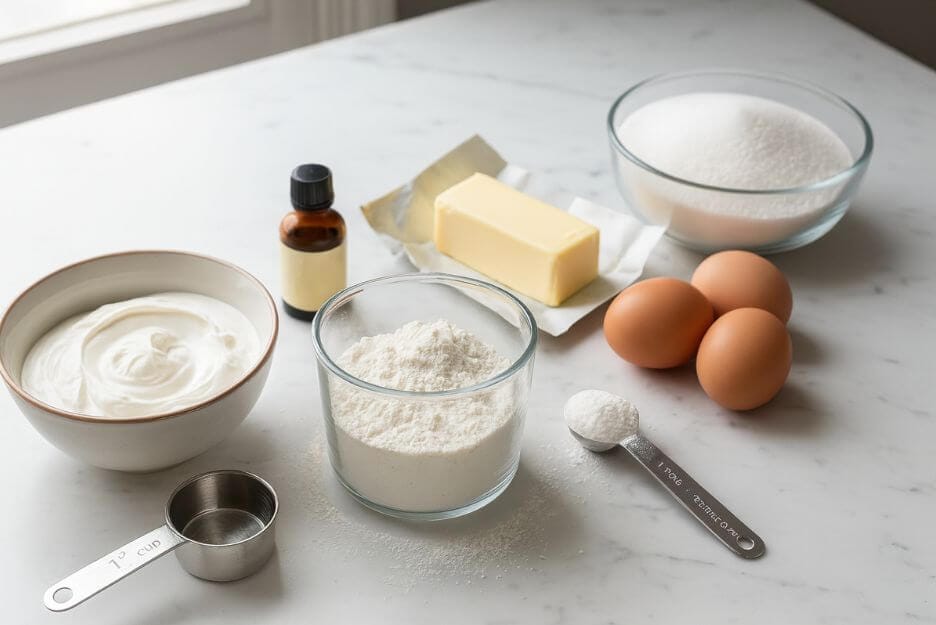
To make these mini delights, we need a batter that is sturdy enough to hold the intricate shape of the pan but tender enough to melt in your mouth. This recipe is based on a classic pound cake style, which provides the best definition for the molded designs.
Dry Ingredients:
- 2 cups All-Purpose Flour: This gives the cake structure.
- 1 tsp Baking Powder: The leavening agent to help them rise just enough.
- ½ tsp Salt: Balances the sweetness and enhances the vanilla flavor.
Wet Ingredients:
- 1 cup Unsalted Butter (Room Temperature): Crucial for a fluffy crumb. If it’s too cold, your batter won’t emulsify.
- 1 cup Granulated Sugar: For sweetness and tenderizing the crumb.
- 3 Large Eggs (Room Temperature): These provide stability and structure.
- 2 tsp Pure Vanilla Extract: Use high-quality vanilla here; it makes a difference!
- ½ cup Sour Cream (Full Fat): This is the secret weapon for moist bundt cake recipes. It adds fat and acidity for a tender texture.
Dietary Substitutions:
- Gluten-Free: Swap the all-purpose flour for a high-quality 1:1 Gluten-Free Baking Flour blend (one that includes xanthan gum).
- Dairy-Free: Substitute the butter for a plant-based butter block (not tub margarine) and use a dairy-free sour cream or coconut yogurt.
Note on Quality: Since Bundt Cupcakes don’t have a mountain of frosting to hide behind, the flavor of the cake really shines. Use real butter and real vanilla for the best results.
Equipment & Tools Needed
You don’t need a professional kitchen to pull this off, but one specific tool is non-negotiable.
- Mini Bundt Pan: This is the star of the show. Nordic Ware makes excellent heavy-cast aluminum pans that conduct heat evenly.
- Electric Mixer: A stand mixer or hand mixer will work to cream the butter and sugar properly.
- Piping Bag (or Ziploc bag): This is a pro tip for filling the pans neatly without making a mess.
- Pastry Brush: Helpful for getting grease into every nook and cranny of the pan.
- Wire Cooling Rack: Essential for airflow so the bottoms don’t get soggy after baking.
Don’t have a Mini Bundt Pan?
While you won’t get the classic shape, you can use a standard muffin tin. However, the baking time may vary slightly, and you will miss out on the signature design that makes this bundt cupcakes recipe so special.
Step-by-Step Instructions
Follow these 8 steps carefully, and you will have picture-perfect cakes every time.
Step 1: Prep Your Oven and Pan
Preheat your oven to 350°F (175°C). While it warms up, tackle the most critical step: greasing the pan. Use a baking spray that contains flour (like Baker’s Joy) or melt a little butter and brush it into every single crevice of the mold. Dust with flour if using butter, tapping out the excess. If you skip this, your cakes will stick.
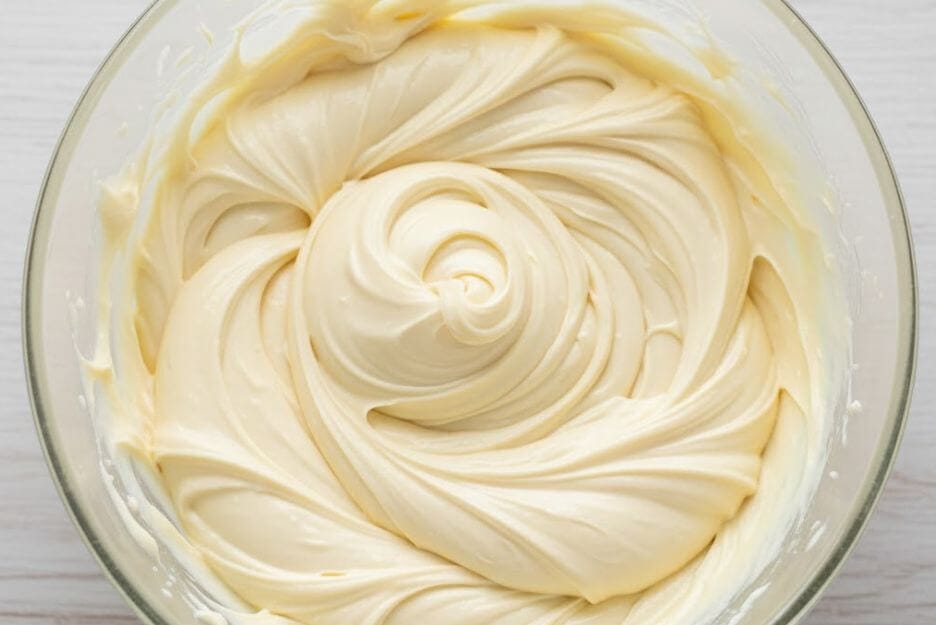
Step 2: Cream the Butter and Sugar
In your mixer bowl, combine the softened butter and granulated sugar. Beat on medium-high speed for about 3-5 minutes. You are looking for the mixture to become pale yellow and fluffy. This incorporates air, which acts as a natural leavening agent.
Step 3: Add Eggs One by One
Lower the mixer speed to medium. Add the eggs one at a time, beating well after each addition. Scrape down the sides of the bowl with a spatula to ensure everything is incorporated. Stir in the vanilla extract.
Step 4: Whisk Dry Ingredients
In a separate medium bowl, whisk together the flour, baking powder, and salt. Whisking aerates the flour and ensures there are no clumps of baking powder, which could cause bitter spots in your Bundt Cupcakes.
Step 5: The Alternating Method
Add half of the flour mixture to the butter mixture and mix on low speed until just combined. Add the sour cream and mix again. Finally, add the remaining flour mixture. Stop mixing exactly when the flour disappears. Over-mixing at this stage activates the gluten and leads to tough cakes.
Step 6: Fill the Pans Like a Pro
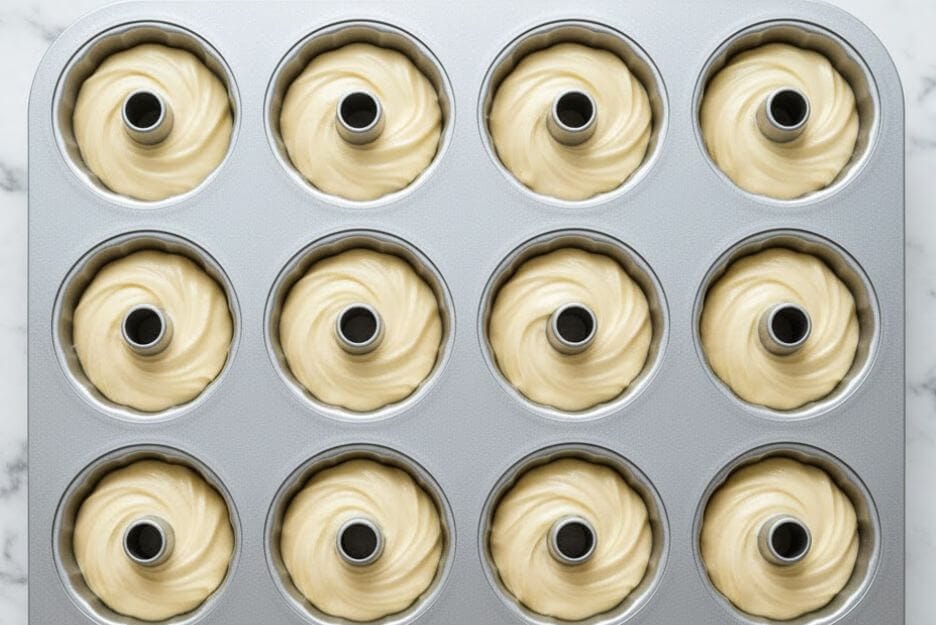
Transfer your batter into a large piping bag (or a Ziploc bag with the corner snipped off). Pipe the batter into the prepared molds, filling them only about 2/3 full. Do not overfill, or the cakes will overflow and lose their definition. Tap the pan firmly on the counter 3 times to release air bubbles.
Step 7: Bake to Perfection
Place the pan in the center of the oven and bake for 18 to 22 minutes. The edges should turn a light golden brown. To check for doneness, insert a toothpick into the center if it comes out clean or with a few moist crumbs, your cakes are ready.
Step 8: The Cooling and Release Strategy
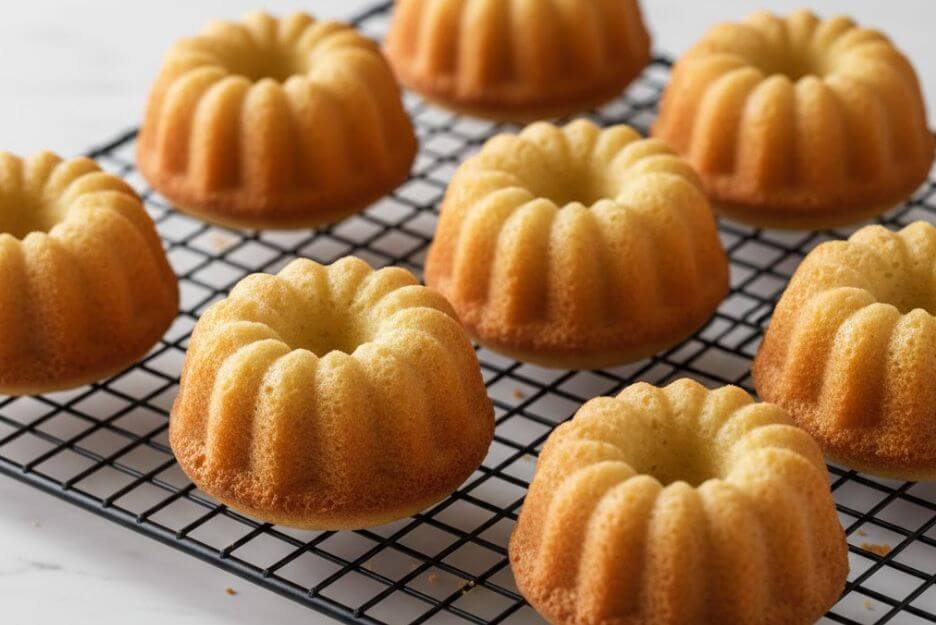
This is the moment of truth. Let the cakes cool in the pan for exactly 10 minutes. If you try to flip them too soon, they will crumble; wait too long, and the sugar will act like glue, sticking them to the pan. After 10 minutes, place a wire rack over the pan, flip it over, and gently lift the pan off. They should slide right out!
Expert Tips & Variations
To ensure you are making the Best Bundt Cupcakes possible, keep these expert insights in mind.
- Room Temperature is Key: Cold ingredients shock the batter and can cause it to separate (curdle). If your batter looks “broken,” your final texture will be greasy.
- The “Flour” Spray: I cannot stress this enough standard cooking spray (like PAM) usually isn’t enough for intricate Bundt designs. Use a spray labeled “for baking” that includes flour.
- Don’t Open the Oven: Avoid opening the oven door for the first 15 minutes. The draft can cause the cakes to sink.
- Flavor Twist – Lemon: Add 1 tablespoon of fresh lemon zest to the sugar in Step 2 for a bright, citrusy variation.
- Flavor Twist – Spice: Add 1 teaspoon of cinnamon and a pinch of nutmeg to the dry ingredients for a warm, cozy flavor profile.
These tips also apply if you are looking for other moist bundt cake recipes the chemistry remains the same!
Nutritional Information
Here is a rough breakdown per Bundt cupcake (based on a yield of 12):
- Calories: ~240 kcal
- Carbohydrates: 28g
- Fat: 13g
- Protein: 3g
- Sugar: 15g
Disclaimer: I am a baker, not a doctor or nutritionist. These values are estimates based on standard ingredients and can vary depending on the specific brands you use.
While these are a treat, the inclusion of eggs provides some protein, and using real butter avoids the trans fats found in some processed shortenings.
Storage & Reheating Instructions
One of the best things about this bundt cupcakes recipe is how well they store. Because of the sour cream, they stay moist for days.
- Room Temperature: Keep your cupcakes in an airtight container at room temperature for up to 3 days. No need to refrigerate them the fridge can actually dry out the crumb.
- Freezing: These cupcakes freeze really well! Once they’ve cooled completely, wrap each one tightly in plastic wrap and pop them into a freezer-safe bag. They’ll stay fresh for up to 3 months.
- Thawing/Reheating: Thaw on the counter for an hour. If you want that “fresh from the oven” experience, pop one in the microwave for 10-15 seconds to warm the butter inside.
Serving Suggestions
Since Bundt Cupcakes are naturally beautiful, they don’t need heavy frosting. Here is how to serve them:
Toppings:
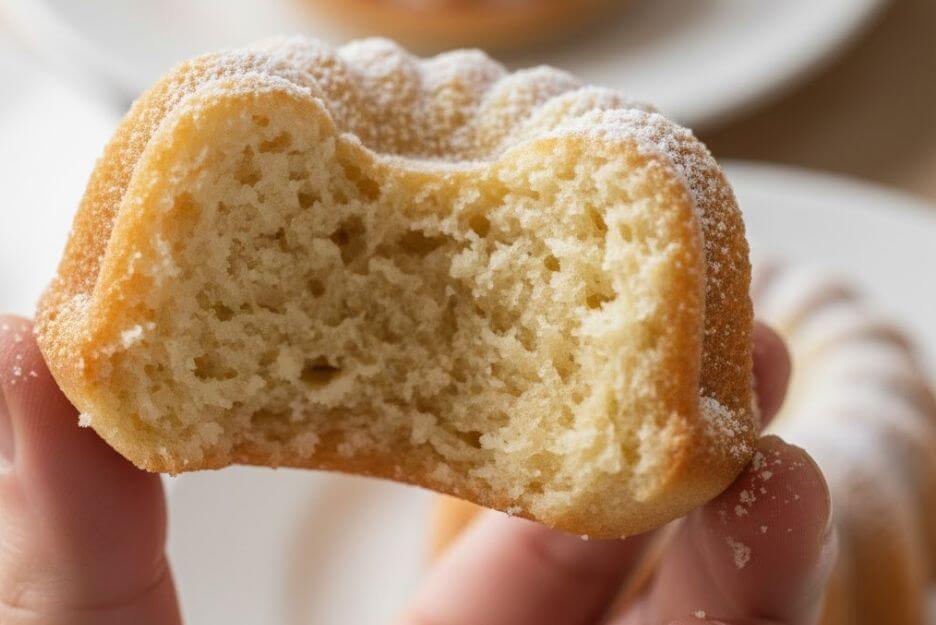
- Simple Dusting: A light dusting of powdered sugar highlights the design.
- The Glaze Drizzle: Mix powdered sugar with a splash of milk or lemon juice and drizzle over the top.
- Chocolate Ganache: Dip the very top of the cake into melted chocolate for a decadent finish.
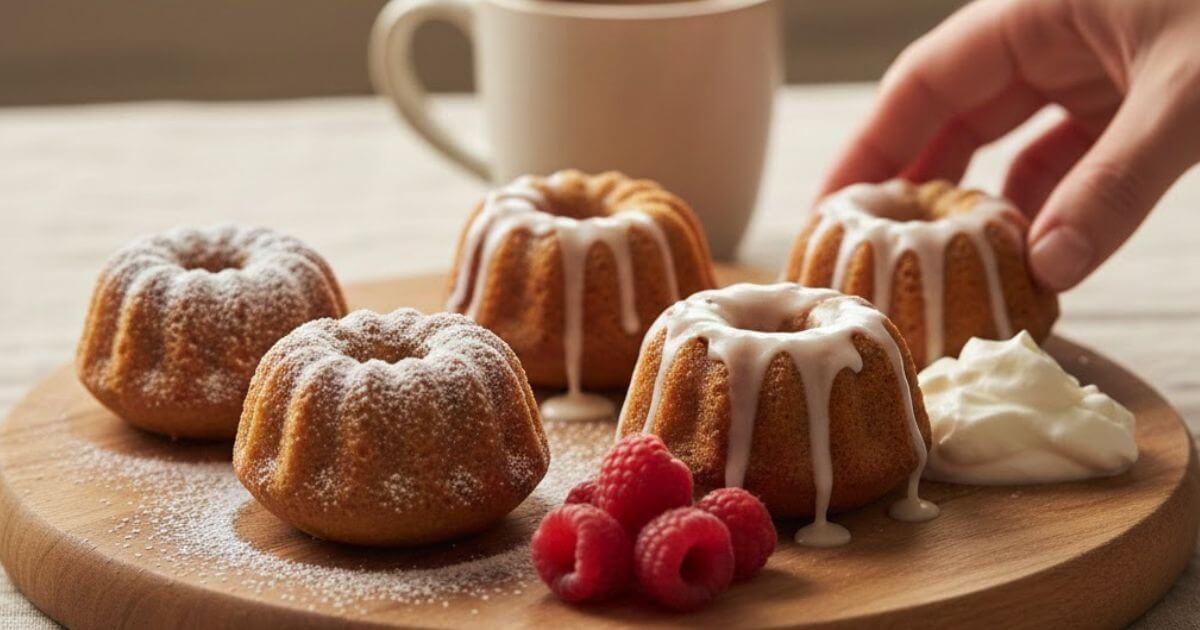
Pairings:
- Beverages: These pair perfectly with a dark roast coffee or an Earl Grey tea to cut through the sweetness.
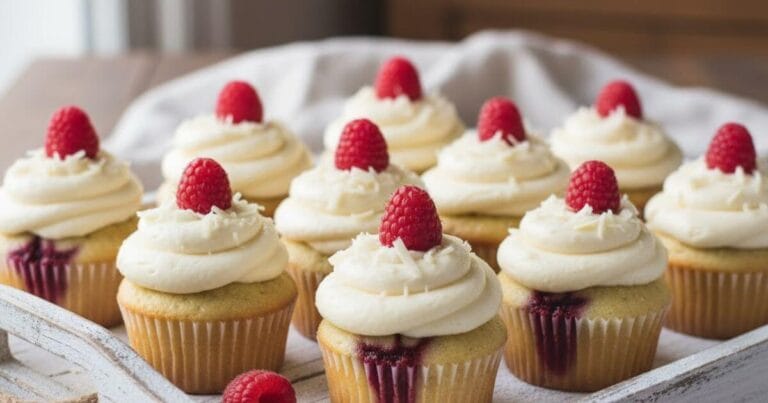
- Sides: Serve with fresh raspberries or strawberries and a dollop of freshly whipped cream.
FAQ Section
Q: Why did my Bundt cupcakes stick to the pan?
A: This is usually due to insufficient greasing or un-molding them at the wrong time. Remember the 10-minute cooling rule! Also, old pans with scratches can cause sticking; if your pan is old, grease it very generously.
Q: Can I use this batter for a full-sized Bundt cake?
A: You can, but you will need to double the recipe. However, large cakes require much longer baking times (usually 50-60 minutes) at a slightly lower temperature (325°F).
Q: How do I ensure I am making moist bundt cake recipes?
A: The secret is fat ratio and not over-baking. Ingredients like sour cream, yogurt, or buttermilk are essential. Also, check your oven temperature with an oven thermometer to ensure you aren’t accidentally baking too hot.
Q: What is the difference between a Bundt cupcake and a regular cupcake?
A: It is primarily the shape and the batter style. Regular cupcakes are often lighter and topped with heavy frosting. Bundt Cupcakes use a denser, pound-cake-style batter and rely on the molded shape for decoration rather than frosting.
Q: Can I add chocolate chips or blueberries?
A: Yes! However, toss your mix-ins in a little flour before adding them to the batter. This prevents them from sinking to the bottom of the mold while baking.
Baking shouldn’t be stressful, and these Bundt Cupcakes prove that you can make bakery-quality desserts right in your own kitchen. They are elegant, delicious, and surprisingly simple if you follow the steps.
Whether you stick to the classic vanilla or experiment with lemon and spice, the result is a versatile treat that looks as good as it tastes. Remember, the key to the Best Bundt Cupcakes is patience with the cooling process and using high-quality ingredients.
So, grab that mini pan, preheat your oven, and get ready to impress your friends and family. Happy baking!